 how-to
Integrating Retaining Walls in Sloped Residential Sites
Table of Contents
- Why Sloped Sites Need Integrated Retaining Walls
- Retaining Wall Planning and Site Assessment
- Terraced Garden Design on a Slope
- Retaining Walls with Steps and Pathways
- Retaining Wall Drainage Solutions
- Construction Workflow and Practical Execution
- Permits, Engineering Assessment and Neighbour Considerations
- Conclusion
- Frequently Asked Questions
Last Updated: October 19, 2026
Why Sloped Sites Need Integrated Retaining Walls
A sloped site can create visual depth and distinct outdoor zones, but without proper management through integrating retaining walls, soil moves, water pools and usable space shrinks.
Integrated retaining walls solve this directly.
At FDSS Landscaping Services, we design and build integrated retaining walls that transform sloped blocks into functional outdoor living spaces.
Retaining Wall Planning and Site Assessment
Successful integration starts with understanding your site. Every slope is different, and the assessment determines wall height, foundation depth, drainage design, construction access and whether the wall can be integrated with your house or boundary at all.
Treat it as a sequence: survey, then soils and groundwater, then access and services, then engineering, then approvals. Skipping ahead to design before those inputs are known is how projects end up with mid-build redesigns.
Understanding slope gradient and soil conditions
Slope steepness matters enormously.
Soil type is equally critical. Clay holds water and expands and contracts with moisture changes, a common issue on many Hills District blocks, while sandy soil drains quickly but offers less cohesion.
Bearing capacity, how much weight the soil can safely support, determines foundation width and depth.
Site-specific engineering inputs
Engineering combines several inputs to determine the wall's design:
- Wall height and slope geometry. Taller walls and steeper retained slopes generate greater loads, and a wall retaining a slope that rises above it carries more than one retaining level ground.
- Surcharge loads. Anything placed on the ground behind the wall, a driveway, a pool, a building, a parked car, adds load, so a wall below a future driveway or house must be designed for that surcharge from the start.
- Soil and groundwater. Cohesive clay, granular sand and high water tables each change the design, and groundwater adds hydrostatic pressure that must be relieved or resisted.
- Wall type and material. Concrete sleeper, block, timber, segmental block and stone systems have different structural capacities and foundation requirements.
- Drainage and backfill. The drainage system and backfill specification are part of the structural design, not an add-on.
A structural engineer takes these inputs and confirms the wall will be stable. Requirements depend on the site, the wall height and the relevant council or authority, so confirm the engineer's scope early rather than assuming it.
Identifying access constraints and utility locations
Before any excavation begins, you need to know what is underground.
Access constraints matter too. Can machinery reach the work area, are there trees to preserve, and will construction vehicles fit through your driveway?
Neighbour access is another consideration. If your wall sits near a boundary, your neighbour may have rights to access the land for maintenance or repairs. Some councils require easements.
A sequenced pre-construction workflow
A common pattern that keeps projects on track:
- Survey and levels. Confirm the existing slope, boundaries and any easements.
- Geotechnical and service investigation. Soils, groundwater and underground services.
- Concept and 3D design. Position walls, terraces, steps and drainage around the site's real constraints.
- Engineering. Structural design for the wall, surcharge and drainage.
- Approvals. Council and, where required, other authority sign-off.
- Construction. Excavation, foundation, wall, drainage and backfill in sequence.
- Inspection and completion. Confirm drainage works and the wall is as designed.
At FDSS Landscaping Services, we work through this sequence with you, from concept and 3D design through construction and completion, so the wall is designed around your site rather than fitted to it afterwards.
Terraced Garden Design on a Slope
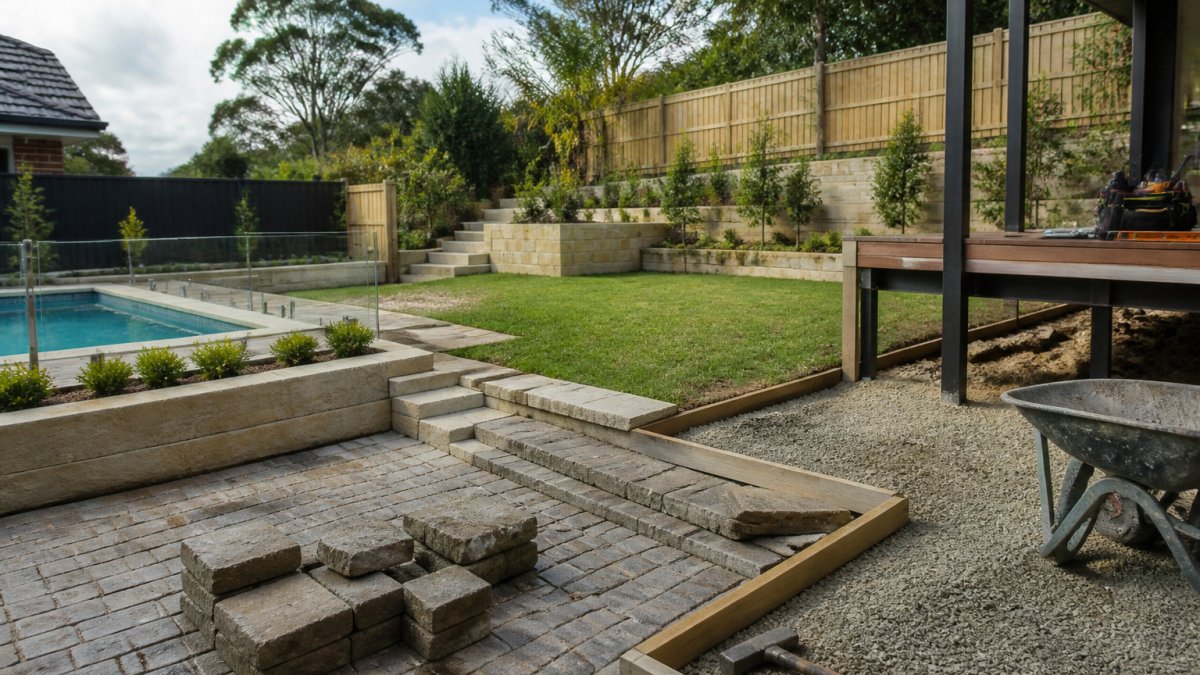
Terracing transforms a sloped block into usable outdoor living space. Instead of fighting the slope, you work with it, creating a series of level platforms each held in place by a retaining wall.
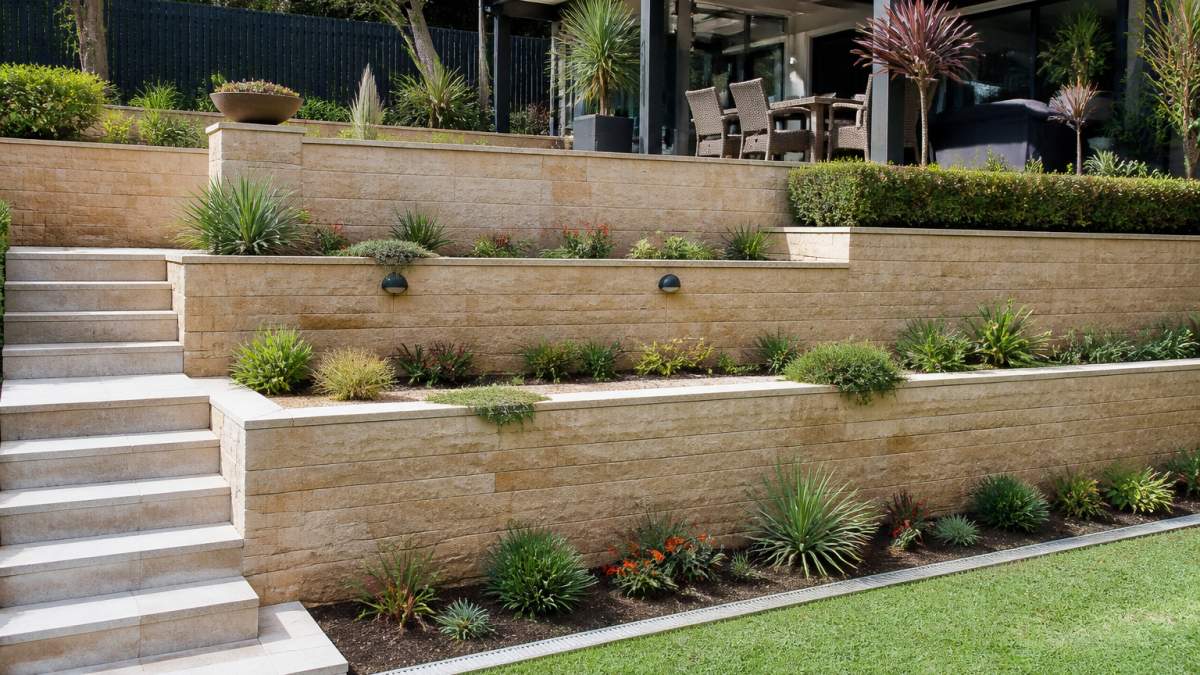
Stepped design and level areas
Step height depends on your soil conditions, the overall slope and how you want to use the space, typically ranging from 600mm to 1200mm.
Spacing matters too. Walls too close together create narrow terraces; walls too far apart mean taller individual walls and greater structural demands. Good design balances these factors.
Cut-and-fill strategies
Cut and fill is how you reshape the site: cutting soil from higher areas and filling lower ones.
A good cut-and-fill strategy balances the volume removed against the volume placed, keeping costs down and minimising environmental impact.
Compaction of fill material is essential. Loose fill settles over time, causing cracks in walls and uneven surfaces, so proper compaction in layers ensures stability.
Retaining Walls with Steps and Pathways
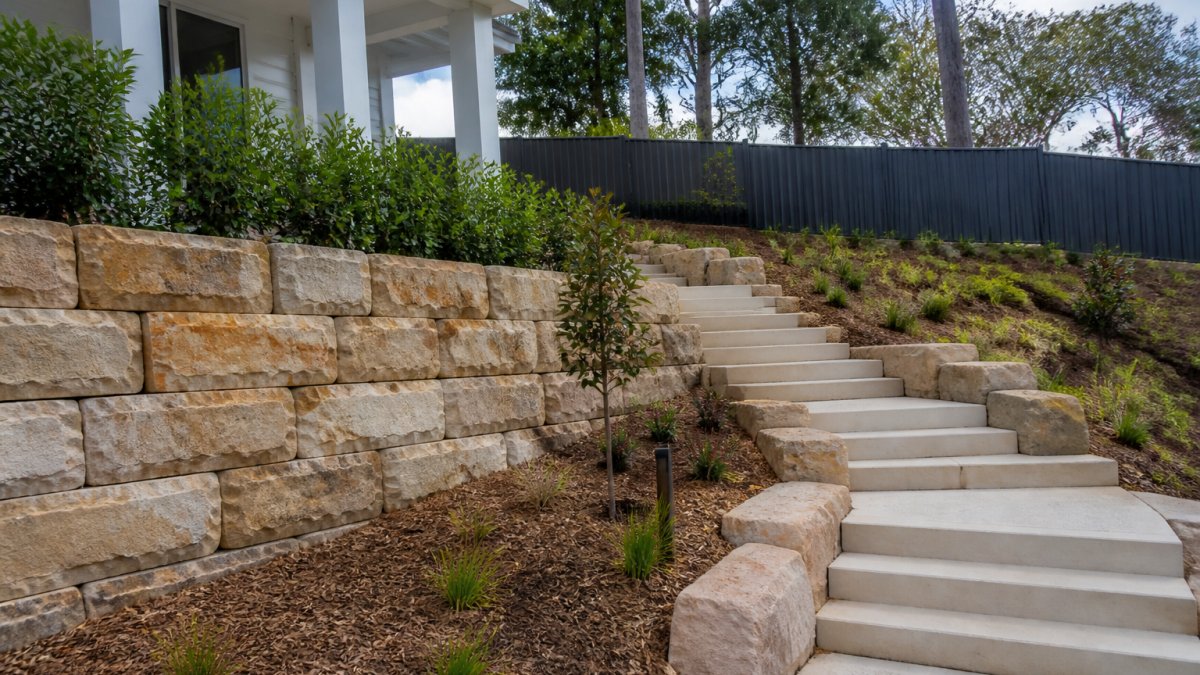
Integrating steps and pathways into your wall design creates a cohesive landscape. Rather than separate elements, they become one system.
Pathways running along the wall or connecting terraced areas should be designed at the same time; added later, they risk damaging the wall or creating poor drainage patterns.
Materials matter too. Steps and pathways should complement the wall material and match the overall landscape aesthetic for a finished, professional appearance.
Retaining Wall Drainage Solutions
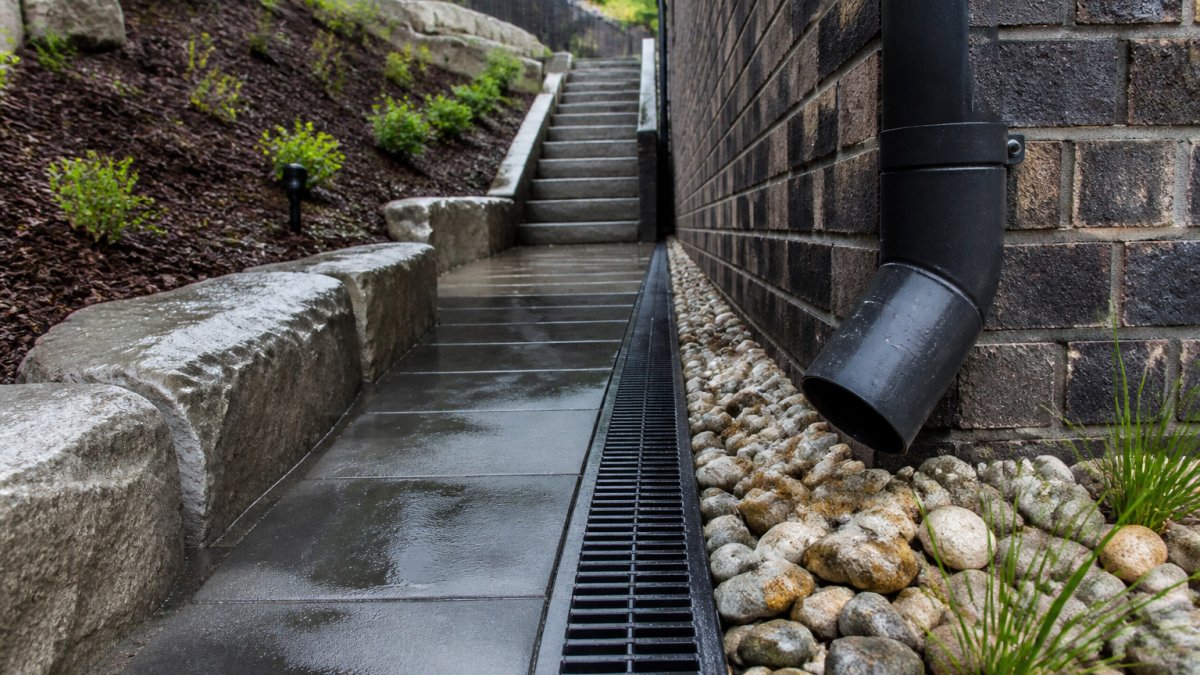
Water is the enemy of retaining walls. Pressure from water behind the wall can cause failure. Proper drainage keeps water moving away from the wall and through the soil.
Integrated drainage systems and waterproofing
An integrated drainage system works at multiple levels. Behind the wall, a perforated drainage pipe collects water moving through the soil and directs it to a safe discharge point; without it, water accumulates behind the wall and builds pressure.
The backfill material behind the wall also plays a drainage role. Coarse material like gravel drains faster than clay. Using the right backfill material ensures water moves through the system efficiently.
Managing groundwater and hydrostatic pressure
Groundwater is water naturally present in the soil, and on sloped sites it often moves downslope.
Managing groundwater means understanding the direction of water flow and installing drainage to intercept it.
The height of your water table matters too. If groundwater sits high in the soil, your drainage system needs to be more strong. A site assessment identifies where groundwater sits and how it moves.
Construction Workflow and Practical Execution
Building an integrated retaining wall follows a logical sequence. Each step depends on the one before it.
Excavation, backfill and compaction
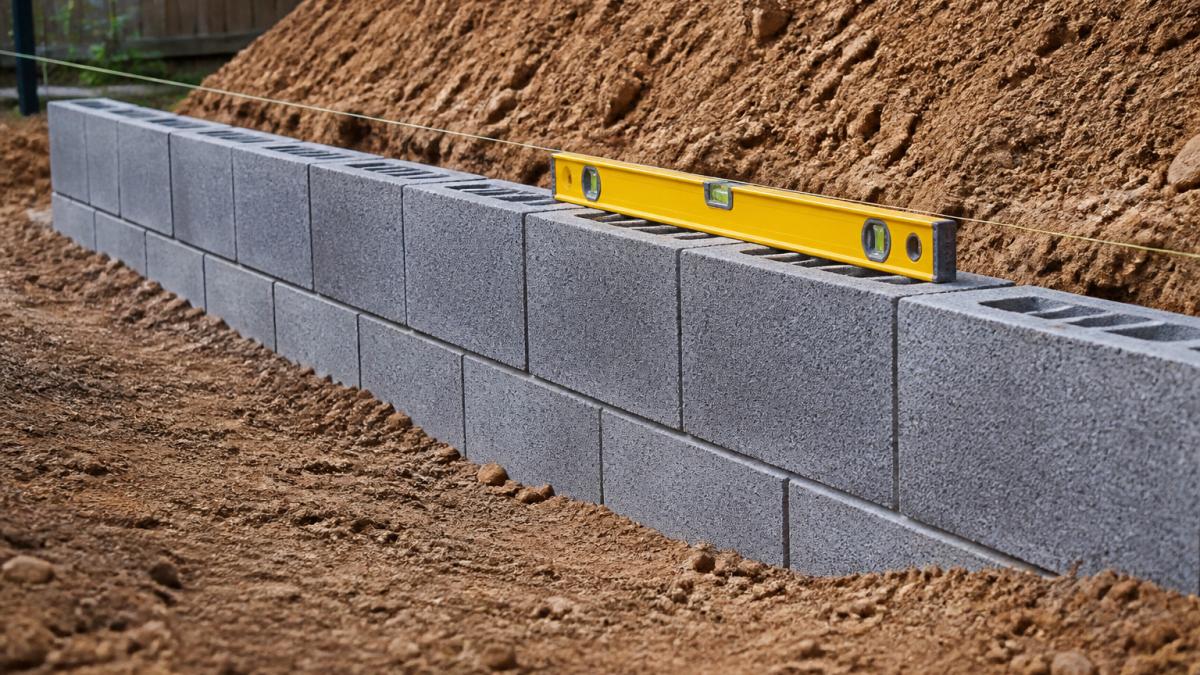
Excavation creates the space where the wall will sit, removing existing soil and creating a level foundation trench wide enough for the wall and any drainage system behind it.
Backfill comes after the wall is built, the soil and material placed behind it.
The compaction process matters. Hand-compacting small areas works for tight spaces. Mechanical compaction with a plate compactor or roller is necessary for larger areas.
Foundation preparation and wall installation
The foundation determines everything. A shallow or poorly prepared foundation will not support the wall.
Foundation depth depends on soil type and wall height. Taller walls need deeper foundations. Poor soil needs deeper foundations. A soil test tells you what depth is needed.
Wall installation follows.
As the wall rises, drainage pipes are installed behind it. Backfill and compaction happen in stages as the wall goes up.
Permits, Engineering Assessment and Neighbour Considerations
Building a retaining wall is not a purely private matter. Council regulations, engineering requirements and neighbour rights all come into play, and getting them right early avoids redesigns and disputes later. Requirements depend on your site and the relevant council or authority, so treat the following as a guide to what to check rather than a fixed rulebook.
What typically triggers an approval
Most councils require building approval for retaining walls above a certain height, and the threshold varies by council, commonly around 1 metre, but it can be lower where the wall is near a boundary, supports a surcharge (such as a driveway or building), or is part of a larger development.
Some councils also require structural plans, site plans and drainage details before approval. The specific requirements depend on your local council and the complexity of your site. Check with your council early in the planning process, before design is locked in, because the approval pathway can shape the design.
Documents commonly requested
While requirements vary, a typical approval package may include:
- A site plan showing the wall location, height and relationship to boundaries and the house.
- Structural engineering plans and certification for walls above the threshold.
- Drainage details showing where water will be directed and discharged.
- Geotechnical information where soil or groundwater conditions warrant it.
- Evidence that the wall does not adversely affect neighbouring land.
Confirm the exact list with your council or a qualified professional before lodging.
Easements, boundaries and neighbour rights
If your wall sits near a boundary, your neighbour may have rights to access the land for maintenance or repairs. Some councils require easements to be registered on the title.
Boundary walls are a particular case. A wall that sits on or near the boundary may need to be designed as a boundary wall, with its own structural and access considerations.
Drainage liability and water leaving your site
Water from your site should not drain onto your neighbour's property in a way that causes damage. Your drainage design must account for this. If your wall diverts water toward your neighbour, you may face liability. The safe approach is to direct water to a lawful discharge point, a stormwater system, a drainage easement or an approved outlet, and to document how the system works.
At FDSS Landscaping Services, we help homeowners, builders and developers across the Hills District and Greater Sydney work through these pre-construction decisions, from site assessment and engineering coordination through approvals and construction, so the wall is designed and documented correctly from the start. If you are planning a project on a sloped block, request a landscaping quote and we will assess your site and discuss the approvals pathway with you.
Conclusion
Integrating retaining walls into sloped residential sites requires careful planning, proper site assessment, and understanding how water, soil, and construction sequencing work together.
A sloped block presents real challenges. But with the right approach, it becomes an asset.
FDSS Landscaping Services specialises in designing and building integrated retaining walls that transform sloped sites.
If you're considering a landscaping project on a sloped block, get in touch.
Frequently Asked Questions
How do you plan retaining walls on a sloping residential site?
Effective planning starts with a thorough site assessment: measure slope gradient, identify soil type, check for groundwater and utilities, and understand access constraints. Engage a professional to evaluate whether integrated walls (built into the landscape structure) or independent walls suit your block. Create a detailed plan showing wall height, placement, drainage routes and terraced levels. This foundation determines construction feasibility, costs and long-term stability.
What's the difference between integrated and independent retaining walls?
Integrated retaining walls form part of the overall landscape design, supporting terraced garden beds, pathways and outdoor living areas as a unified system. Independent walls stand alone as boundary structures. Integrated designs work better on residential slopes because they maximise usable space, manage drainage more effectively and create cohesive outdoor environments. Your site conditions and landscaping goals determine which approach suits your project.
How should drainage be managed behind a retaining wall?
Proper drainage prevents wall failure and protects your property. Install drainage pipes or aggregate behind the wall to direct water away from the structure, use a waterproof membrane to block direct water contact, and ensure surface water slopes away from the wall. Hydrostatic pressure builds when water accumulates, so integrated drainage solutions are essential. Poor drainage is one of the most common causes of retaining wall problems, making this a critical planning step.
When should an engineer assess a retaining wall on a sloping site?
Professional engineering assessment is important for walls exceeding 1 metre in height, sites with poor soil conditions, steep slopes, or where neighbouring properties may be affected. Engineers confirm structural adequacy, drainage design and compliance with building standards. Requirements vary by council jurisdiction, so check with your local authority early. Professional assessment protects your investment and ensures your project meets all necessary approvals.