 how-to
Stormwater Runoff & Backyard Retaining Walls: A How-To
Table of Contents
- Why Stormwater Runoff Matters for Backyard Retaining Walls
- Step 1: Assess How Water Moves Through Your Site
- Step 2: Retaining Wall Drainage Design That Works
- Step 3: Installing an Ag Pipe Behind a Retaining Wall
- Step 4: Directing Water Away from Foundations and Boundaries
- Step 5: Combining Walls with Infiltration and Retention Features
- Signs of Retaining Wall Drainage Problems to Watch For
- When to Call a Professional for Drainage or Wall Work
- Frequently Asked Questions
Last Updated: October 18, 2026
Why Stormwater Runoff Matters for Backyard Retaining Walls
Stormwater runoff is the rain that flows across your yard instead of soaking into the ground. When it hits a retaining wall, it either drains away safely or builds up behind the wall and pushes it over. This guide from FDSS Landscaping Services covers how to keep that water moving.
Most wall failures start with water, not bad blocks. Saturated soil weighs far more than dry soil, and it pushes hard against the back of the wall. Add a heavy storm and the pressure climbs fast.
The fix is a proper drainage system, built in during construction. Below, we'll show you exactly how to plan, size and install one.
Step 1: Assess How Water Moves Through Your Site
Walk your yard during heavy rain and watch where water pools, runs and exits. That single exercise tells you more than any calculation.
Note the slope, the high points, and any low spots near the house. Check where water leaves the property and whether it crosses a boundary.
Look for these signs:
- Standing water after rain
- Soil washed away at the base of slopes
- Damp patches near foundations
- Water pooling against fences
Council requirements for stormwater discharge vary by site and local authority. Check with your council before you plan where water will go.
Step 2: Retaining Wall Drainage Design That Works
Good retaining wall drainage design moves water out from behind the wall faster than it arrives. Three parts do the work: gravel, filter fabric and pipe. Get the sizing and the sequence right and the wall stays put; get them wrong and no amount of blockwork will save it.
Understanding the Loads You Are Designing For
A retaining wall holds back two things: soil and water. Dry soil exerts a predictable sideways push. Saturated soil weighs considerably more, and water trapped behind the wall adds hydrostatic pressure of its own. That is why a wall that looks fine in a dry spell can bulge after a week of steady rain.
Two practical consequences follow:
- Drain first, build second. The drainage system is not an add-on; it is part of the structural design. It must be installed as the wall goes up, not retrofitted.
- Keep surface water out. Redirect runoff from upslope away from the wall before it ever reaches the backfill. A small cut-off drain or swale uphill of the wall does more than any pipe behind it.
Where a wall is tall, carries a surcharge (a driveway, shed or building close behind it), or sits on sloping or reactive clay ground, the design usually needs engineering input. Requirements depend on the site and the relevant council or authority, so confirm thresholds before work starts.
Sizing the Drainage Zone by Wall Height
There is no single size that suits every wall, but a common pattern practitioners work to is a drainage gravel zone roughly 300mm wide behind the wall face, running the full height of the wall and the full length of the run. On taller walls, or where the backfill is clay-heavy, that zone is often widened and the gravel kept clean and washed so it does not compact into an impermeable mass.
The layers, from the wall backwards:
- Clean, washed drainage gravel, roughly 300mm wide against the back of the wall
- Geotextile fabric wrapped over the gravel and tucked under the backfill
- Free-draining backfill soil behind that
- Native soil beyond, graded so surface water falls away from the wall
Wrap the fabric so it overlaps at the top and laps over the gravel. This keeps soil fines out and water flowing. A common failure is fabric laid loosely or torn during backfill, once fines migrate into the gravel, the drainage zone silts up and stops working.
Designing the Outlet Before You Dig
The drainage system is only as good as its outlet. Before any trench is opened, decide where the water will go: a stormwater line, a grated pit connected to the system, a lawful discharge point on your own land, or an infiltration area. If there is no legal outlet, the design needs to change, not the outlet rules.
Council requirements for stormwater discharge vary by site and local authority. Check with your council before you plan where water will go, and confirm the approved connection point rather than assuming the street kerb is acceptable.
Step 3: Installing an Ag Pipe Behind a Retaining Wall
An ag pipe behind a retaining wall is a slotted pipe laid in the gravel trench at the base of the wall. It collects water and carries it to a safe outlet.
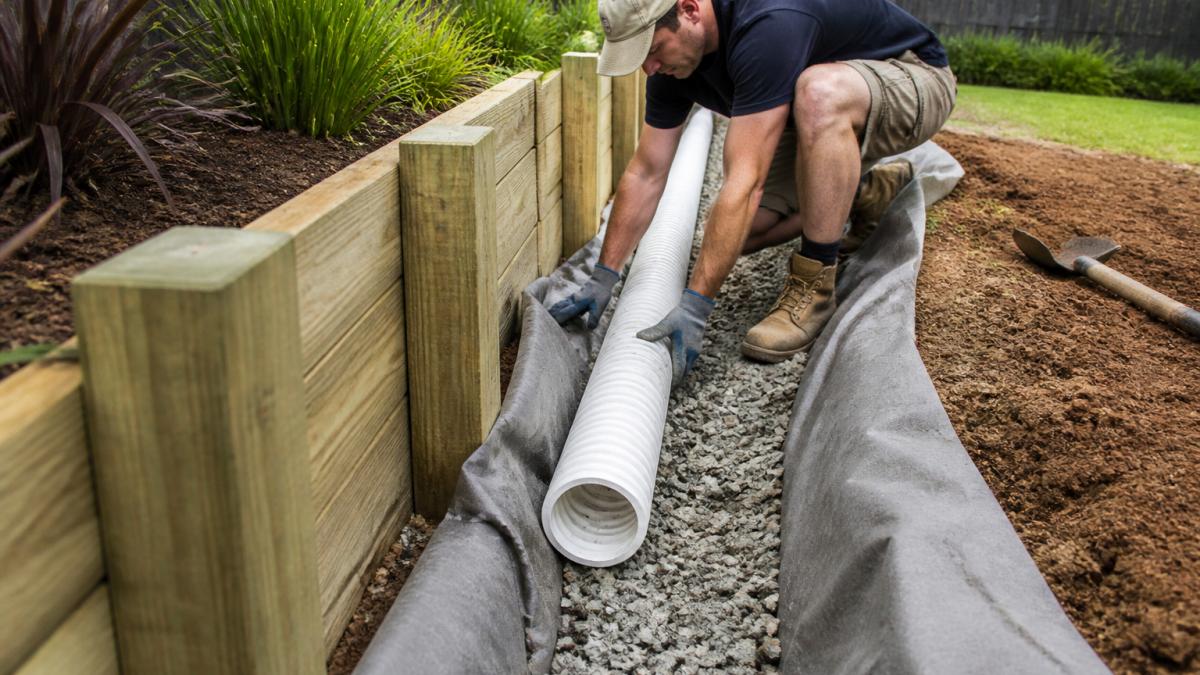
Set the pipe with the slots facing down, on a bed of gravel. Keep a gentle fall along its length so water runs to the outlet. Wrap the pipe in geotextile to stop fines blocking the slots.
Connect it to a stormwater line or a legal discharge point. Never run it straight onto a neighbour's property.
Step 4: Directing Water Away from Foundations and Boundaries
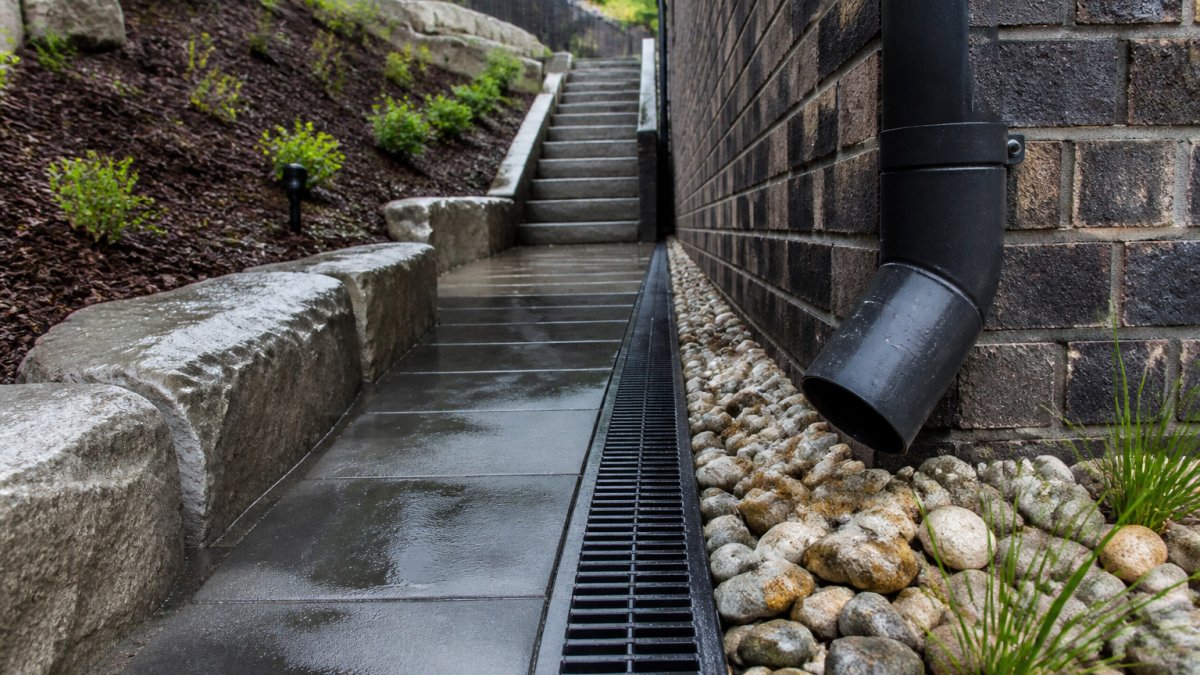
Water that leaves the wall needs somewhere to go. Direct it to a stormwater connection, a swale, or a lawful discharge point on your own land.
Keep the ground falling away from the house. A surface drain or grated pit near the foundation catches water before it soaks in.
Watch the boundaries. Discharging water onto a neighbour's land can create disputes and may breach local rules. Confirm the approved discharge point with your council.
Step 5: Combining Walls with Infiltration and Retention Features
Some sites suit holding water rather than piping it away. Infiltration and on-site retention features slow runoff and let it soak into the ground, which reduces the volume hitting the stormwater system and can ease pressure on the wall itself. The trick is knowing when to pair a wall with infiltration, and when not to.
When Infiltration Works Well With a Retaining Wall
Infiltration is a good fit when three conditions line up:
- The soil drains. Sandy and loamy ground accepts water at a useful rate. Clay-heavy ground does not, and water will sit rather than soak away.
- The feature sits downslope and clear of the wall. A rain garden or swale placed well in front of the wall, capturing surface runoff before it reaches the backfill, takes load off the drainage system rather than adding to it.
- There is room and fall. Infiltration features need a level or gently graded base and enough distance from structures to keep water out of foundations.
Options that pair well with a wall include:
- Rain gardens in low spots downslope of the wall
- Gravel-filled infiltration trenches along a path or garden bed
- Permeable paving on driveways and paths
- Swales running along the slope to intercept surface flow
When Infiltration Near a Wall Is the Wrong Call
Infiltration directly behind or beneath a retaining wall is usually a bad idea. Water soaking into the backfill adds weight and hydrostatic pressure, exactly what the drainage system is trying to remove. The same applies close to house footings, boundary fences and neighbouring structures, where soaked ground can cause movement or damp.
A simple rule of thumb: infiltrate surface water before it reaches the wall, and pipe water from behind the wall away to a legal outlet. Do not try to do both in the same spot.
On clay-heavy ground, water may sit instead of soaking away, so test the soil first. A simple infiltration test, digging a hole, filling it with water and watching how quickly it drains, tells you more than any rule of thumb.
| Feature | Best For | Watch Out For |
|---|---|---|
| Ag pipe and gravel | Most walls | Needs a legal outlet |
| Rain garden | Well-draining soil, downslope of wall | Poor drainage on clay |
| Permeable paving | Driveways and paths | Clogs without maintenance |
| Swale | Sloping blocks, intercepting surface flow | Needs gentle grades |
| Infiltration trench | Sandy soil, clear of structures | Unsuitable near walls and footings |
Signs of Retaining Wall Drainage Problems to Watch For
Signs of retaining wall drainage problems show up early if you know what to look for. Catch them and repairs stay small.
Look for:
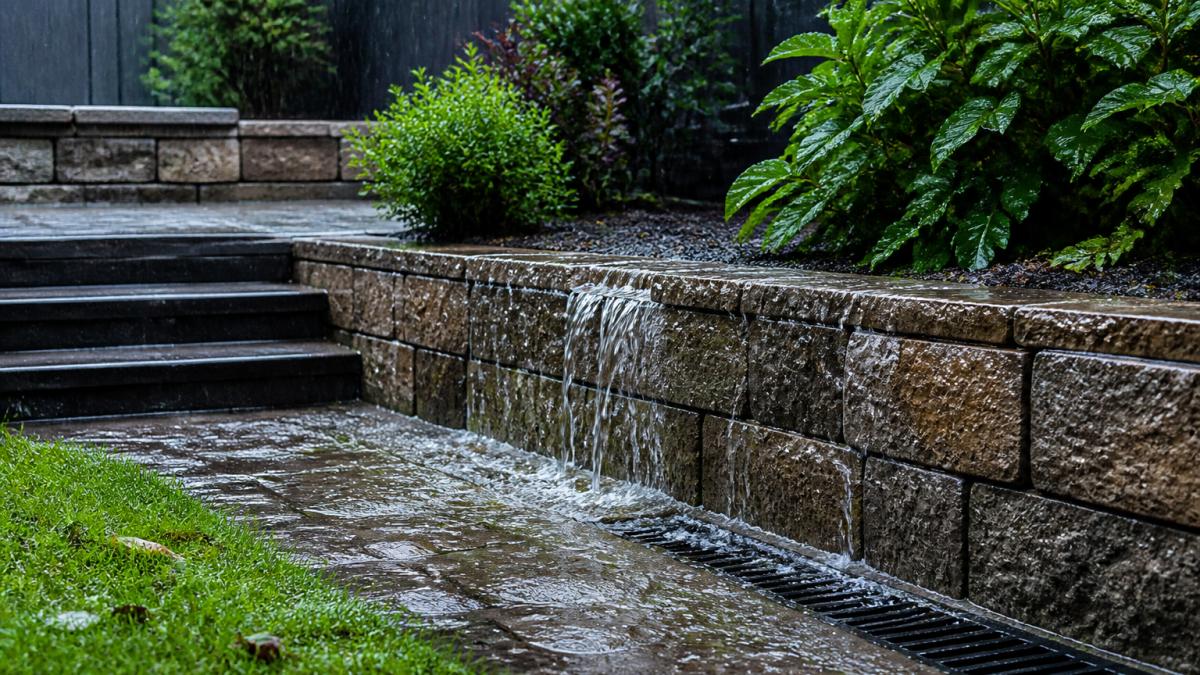
- Water pooling behind or at the base of the wall
- Soil washing out through the face
- The wall leaning or bowing
- Damp patches or cracks in nearby paving
- Soggy ground that never dries
Any of these means water is not moving as it should. Get it checked before the next big storm.
When to Call a Professional for Drainage or Wall Work
Call a professional when the wall is over a metre high, shows movement, or sits on a slope or near a boundary. These jobs need proper design, and often engineering input.
Requirements depend on the site and the relevant council or authority. Height thresholds, permits and engineering rules vary, so confirm them before work starts.
At FDSS Landscaping Services, we design and build retaining walls and drainage as one system. Our team handles excavation, wall construction and stormwater planning from concept through to completion. If your wall needs work, request a landscaping quote and we'll assess the site.
Frequently Asked Questions
Do you need drainage behind a retaining wall?
In almost every case, yes. Soil behind a wall holds water after heavy rain, and that water adds weight and pressure the wall was not designed to carry. A drainage system, usually drainage gravel wrapped in geotextile with a slotted ag pipe at the base, gives that water a path out instead of letting it build up. Walls that hold back significant height or sit on sloping ground need this even more. The exact requirements depend on the wall height, soil type and site conditions, so have the design checked by a qualified professional or your local council where relevant.
What size ag pipe should go behind a retaining wall?
Slotted ag pipe for residential retaining walls is commonly supplied in 65 mm and 100 mm diameters. The right size depends on the wall length, the catchment area draining toward it and how much water the outlet can carry away. A short garden wall on sandy soil may only need 65 mm, while longer walls or sites that collect runoff from above may need 100 mm. Sizing is a design decision, not a guess, so confirm it with a landscaper or drainage professional before you buy materials.
How can you tell if water is building up behind a retaining wall?
The early signs of retaining wall drainage problems include water pooling at the base of the wall after rain, damp or dark patches on the wall face, soil washing out through joints or gaps, and weeds or moss appearing along the wall line. More serious signs are bulging, leaning or cracking, which suggest pressure has already built up. If you notice any of these, get the wall assessed promptly. Ignoring them usually leads to bigger repairs, and in some cases the wall may need to be rebuilt.
What approvals may be needed for a retaining wall or drainage work?
Requirements vary between councils and depend on the wall height, the slope of the site, how close the wall sits to boundaries or buildings, and whether the work affects stormwater flows onto neighbouring properties. Some low walls may not need approval, while taller walls or work near easements often do, and may need engineering input. Check with your local council or a qualified professional before starting. Getting this wrong can mean rework, disputes with neighbours or orders to remove the structure.
Water will always find the weak point in a wall, and guessing at drainage is how homeowners end up rebuilding. Get the design right the first time. FDSS Landscaping Services brings landscape design, excavation and retaining wall construction together under one team, so water is managed from the first plan to the final backfill. Get started with FDSS Landscaping Services and request a quote for your retaining wall and drainage project.