 how-to
9 Steps to Plan a Backyard Renovation in Sydney
Last Updated: October 29, 2026
Quick Summary
To plan a backyard renovation in Sydney, first define how your family will use the space, then measure and map the existing yard. Next assess slope, drainage, soil and sun exposure, and check approvals and budget before any design is finalised. Finally, move from concept to a detailed plan with a clear build sequence.
- Write down the three most common activities the yard must support before choosing a layout.
- Measure the yard and sketch it to scale, marking what to keep and what to change.
- Photograph the yard after heavy rain to identify ponding, downpipe discharge and overland flow.
- Confirm approval pathways with your council before finalising construction drawings.
- Request itemised quotes that separate each stage and state clearly what is excluded.
Table of Contents
- Step 1: Define How You Will Use the Backyard
- Step 2: Measure and Map Your Existing Yard
- Step 3: Assess Site Conditions, Drainage and Soil
- Step 4: Track Sun, Shade and Privacy Through the Year
- Step 5: Work Through the Landscape Design Process
- Step 6: Design a Small Backyard to Feel Larger
- Step 7: Check Approvals, Budget and Project Timing
- Booking Your Backyard Consultation With FDSS
- Frequently Asked Questions
Step 1: Define How You Will Use the Backyard
Start with the question that shapes everything else: how will your family actually use the space?
Many homeowners skip this step and end up with a beautiful space that doesn't suit daily life.
Questions to answer before you move on:
- Who uses the backyard most, and at what times of day?
- Do you need space for outdoor cooking, dining or lounging?
- Do pets or children need a safe, enclosed area?
Clear answers here make every later decision faster. If you are unsure where to start, a landscape design planning guide can help you think through how a yard should work for your household.
Step 2: Measure and Map Your Existing Yard
Accurate measurements prevent expensive surprises. Measure the length and width of the yard, the position of the house, boundary fences, existing trees, and any sheds, pools or driveways.
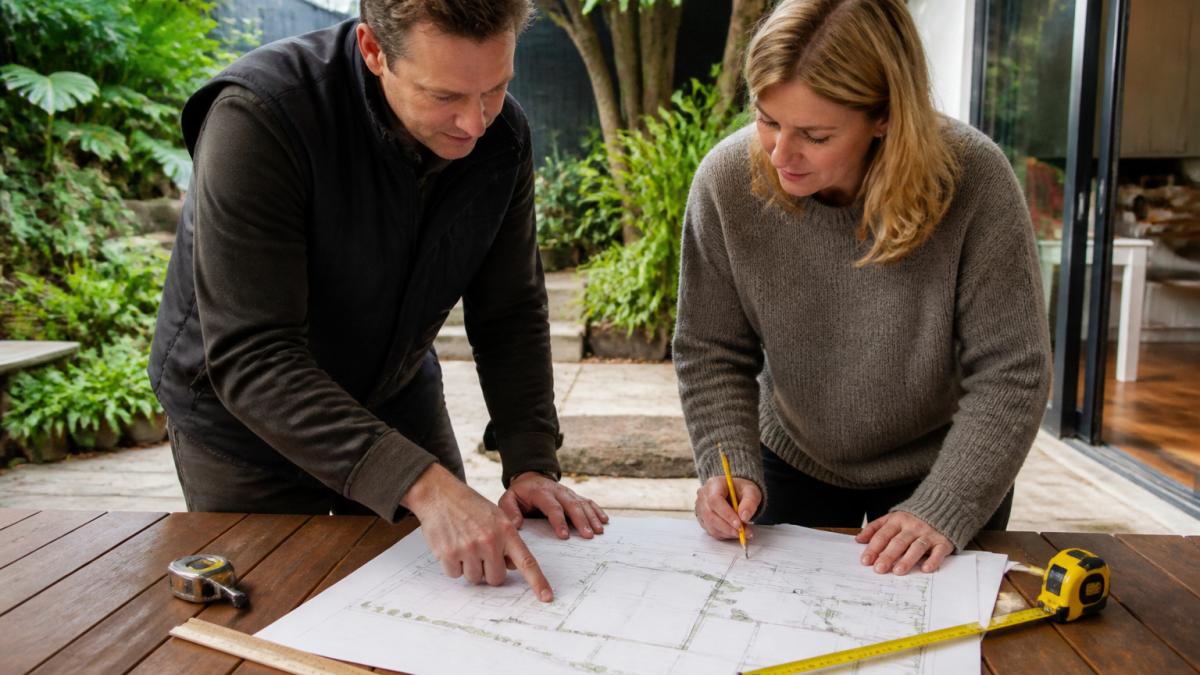
Mark the things you want to keep and the things you plan to change.
A simple map also makes it easier to compare design options. When you can see the yard on paper, it becomes much clearer which layout will fit.
Step 3: Assess Site Conditions, Drainage and Soil
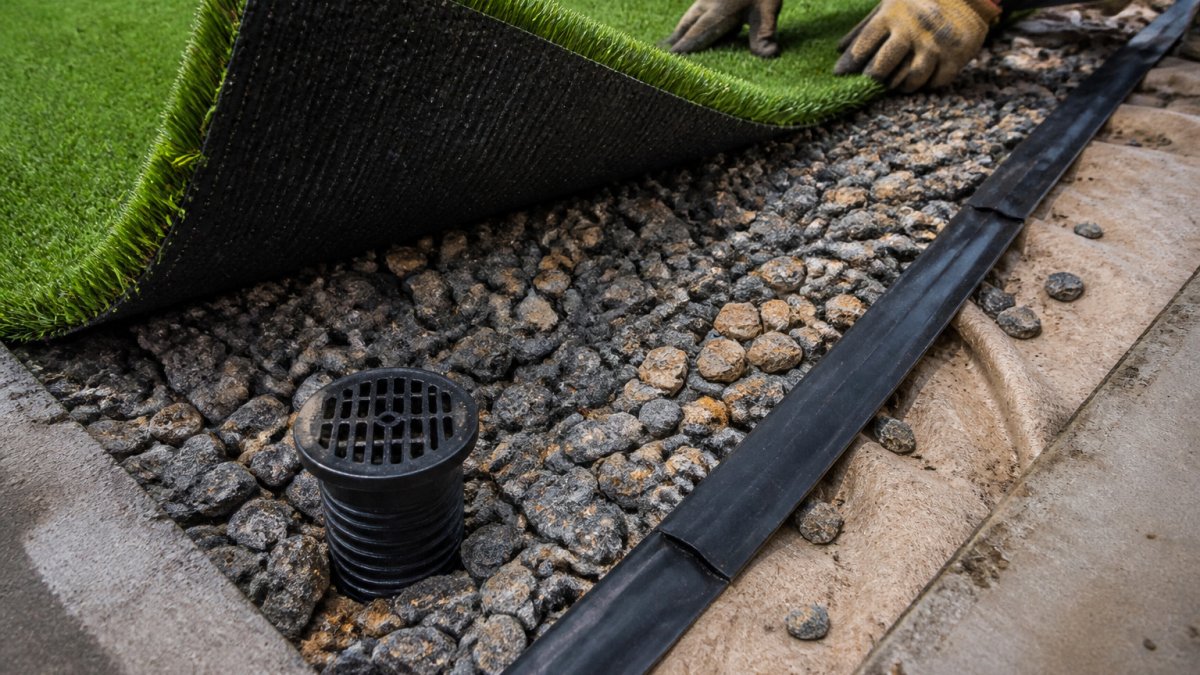
Two backyards on the same street can behave very differently once you dig into them. If water pooling is your main concern, our guide on how to fix drainage under artificial grass step by step walks through the process. Site conditions are the part of planning that is hardest to change later and most expensive to fix after construction, so this is where a bit of observation pays off.
Read the slope before you design on it
Walk the yard and note how the ground falls. A gentle fall away from the house is usually helpful for drainage. A yard that falls toward the house, or that has a steep section, changes what is possible.
- Falling toward the house. Surface water needs to be intercepted and redirected before it reaches the building. This often means regrading, a drainage line or a swale, and it needs to be resolved in the design rather than patched later.
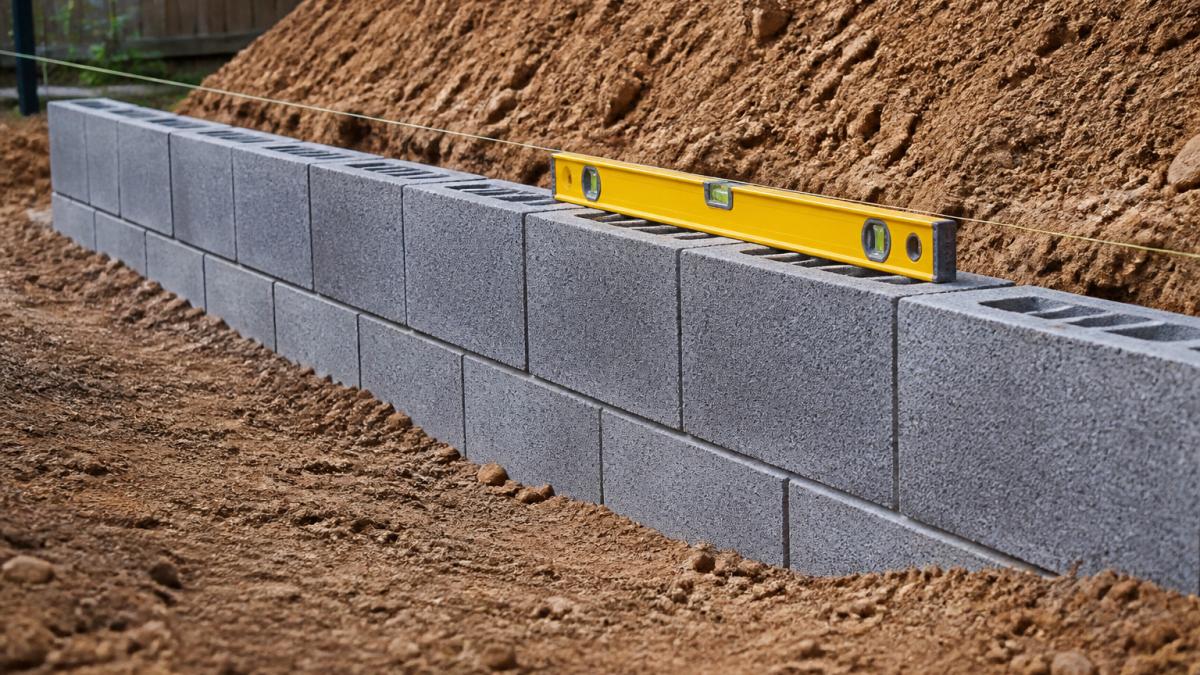
- Steep sections. Terracing with retaining walls can turn an unusable slope into level outdoor space, but walls need proper footing, drainage behind them and, depending on height and location, structural input. Confirm requirements with your council or a qualified consultant.
- Cross-falls and level changes. Small level changes between the house, paving and lawn are where trip hazards and ponding start. Set finished levels early so paving, turf and garden beds meet cleanly.
Watch where water actually goes
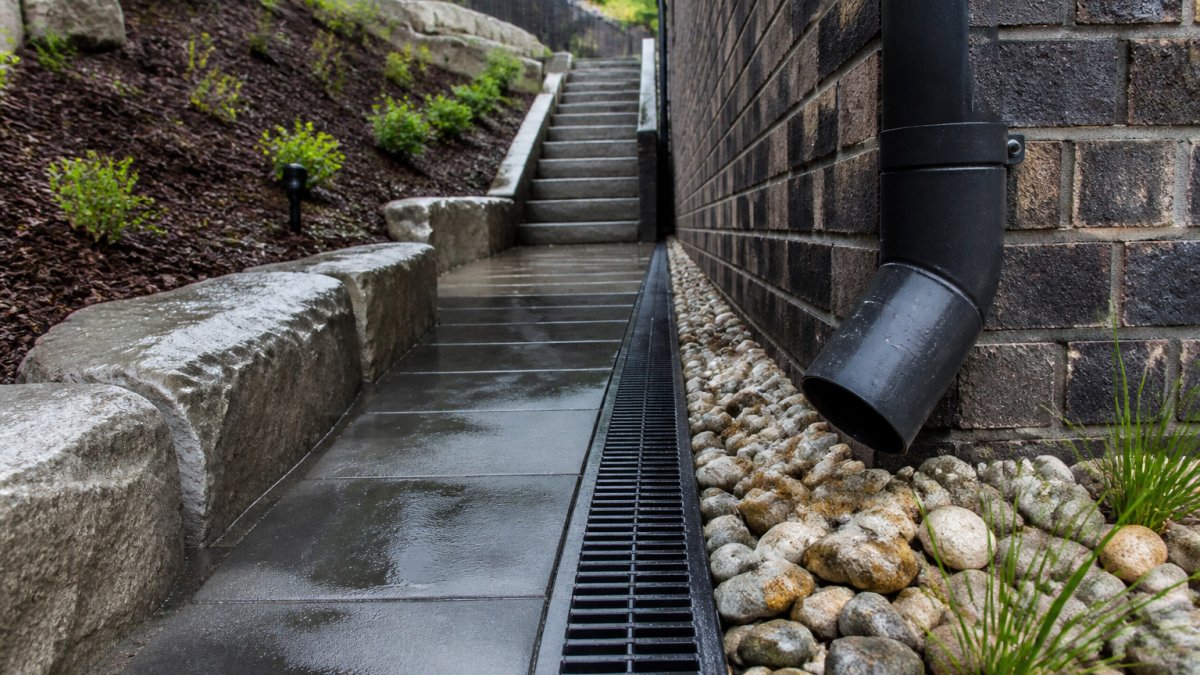
The most useful site visit is often the one after heavy rain. Note where water pools, where it runs, how long it takes to drain, and whether downpipes discharge onto the yard or into stormwater.
Common patterns worth checking:
- Ponding in low spots. Standing water after rain usually signals a drainage or regrading need, not just a wet patch.
- Downpipe discharge. Where roof water lands affects paving, garden beds and foundations. Redirecting it is often part of the drainage plan.
- Overland flow from neighbours. Water does not respect fences. If runoff enters from an adjoining property, plan for it rather than being surprised by it.
Understand the soil you are working with
Soil type affects drainage, planting and how much preparation a garden bed needs. In many parts of the region, clay-heavy soils hold water and can become waterlogged in wet periods and hard in dry ones, while sandier soils drain quickly but hold less moisture and nutrients. The practical response differs:
- Clay-heavy soils often benefit from improved soil structure, raised beds and drainage that accounts for slow infiltration.
- Sandy soils may need organic matter and moisture retention built into planting beds.
- Fill and made ground on older or redeveloped sites can be variable and may need testing before footings or paving are designed.
A simple jar test or a handful-of-soil squeeze test gives a rough indication, but for anything structural or for large planting areas, a soil test or geotechnical advice is worth considering.
Note existing vegetation and services
Healthy trees are worth protecting, and their roots affect where you can dig, pave or build. Check whether any tree is protected under council controls before designing around removal. Equally, note where downpipes, taps, utility access points and any underground services sit, because these constrain paving, garden beds and retaining walls. If you are unsure where services run, confirm before any digging starts.
Getting these conditions right at the design stage is far cheaper than correcting them after construction. For a deeper look at managing slopes, see our guide to planning a landscape design for sloping blocks, or read about preventing soil erosion on sloped Sydney gardens.
The key site checks are easier to compare side by side:
| Check | What to look for | Why it matters |
|---|---|---|
| Slope | Ground falling toward the house | Water must be redirected before it reaches the building |
| Slope | Steep sections | Terracing may need retaining walls with proper footings and drainage |
| Water after rain | Ponding in low spots | Usually signals a drainage or regrading need |
| Downpipes | Where roof water discharges | Affects paving, garden beds and foundations |
| Overland flow | Runoff from neighbouring properties | Plan for it rather than be surprised by it |
| Soil | Clay-heavy soils | Hold water when wet and set hard when dry |
| Soil | Sandy soils | Drain quickly and hold less moisture and nutrients |
| Trees and services | Protected trees and underground services | Constrain where you can dig, pave or build |
Step 4: Track Sun, Shade and Privacy Through the Year
Sun and shade change with the seasons, so observe your yard at different times of day across several weeks if you can.
This matters for:
- Where to place outdoor seating and dining areas
- Which plants will thrive in each zone
- Where a pergola or shade sail would be most useful
Privacy is often overlooked until it is too late. Mark the sightlines from the main windows and from the street. Planting and fencing can fix many privacy issues, but only if you plan for them before construction starts.
Step 5: Work Through the Landscape Design Process
A good design process moves from rough ideas to a detailed plan. Start with a concept sketch that shows the main zones: paved areas, lawn, garden beds and structures.
Many projects benefit from a 3D design, which lets you see how the finished yard will look before anything is built.
Once the design is settled, the design stage usually covers:
- Concept layout and zoning
- Detailed plan with dimensions and levels
- Material and plant selection
- Final plan for quoting and construction
FDSS Landscaping Services offers landscape design that covers concept through to a final plan, so the build follows a clear design.
Step 6: Design a Small Backyard to Feel Larger
Small backyards can feel generous with the right choices. Keep the layout simple and avoid breaking the space into too many small pieces. A single paved area with a clear edge often looks bigger than several small patches.
Techniques that help:
- Use consistent paving or decking to visually connect the space
- Choose lighter colours near the house and deeper tones at the far end to add depth
- Plant vertically along fences to draw the eye upward
Small spaces also benefit from good planning around built features. Hardscape elements such as paving and outdoor living structures should be sized to the yard, not to the furniture you imagine fitting into it.
Step 7: Check Approvals, Budget and Project Timing
This is the step where most backyard renovations either run smoothly or go sideways. Approvals, money and sequencing are linked, and getting them in the right order before anyone lifts a shovel saves both time and rework.
Approvals and compliance
Requirements depend on the site, the scope of work and the relevant council or authority, so treat the points below as a checklist to confirm rather than a set of rules that apply everywhere.
- Exempt versus development application (DA) work. Some minor landscaping and structures may be exempt, while others need a development application or a complying development certificate. Confirm which pathway applies to your project with your local council before you commit to a design.
- Retaining walls and changes to levels. Walls above a certain height, or walls that retain fill near a boundary or a building, often trigger structural review and sometimes approval. The trigger points vary, so ask the question early rather than after excavation.
- Tree controls. Many councils protect trees above a specified trunk diameter or on a significant tree register, and some have specific controls for certain species. Removing or pruning a protected tree without approval can attract penalties, so check before you design around it.
A useful habit is to keep a simple approvals file: council correspondence, any consultant reports, approved plans and inspection records. It makes later questions much easier to answer.
Budgeting that survives contact with the ground
Get itemised quotes rather than a single lump sum, and ask each quote to separate:
- Design and documentation
- Excavation and site preparation
- Drainage and underground services
- Hardscaping, paving, retaining walls, concreting, steps
- Structures, pergolas, decking, outdoor rooms
- Soft landscaping, turf, garden beds, planting, soil improvement
- Finishing, clean-up and any make-good
Ask what is excluded as carefully as what is included. Common exclusions are rock excavation, removal of unexpected fill or debris, extra drainage, service relocation, and disposal fees. Build in a contingency for ground conditions, because sloped or older sites frequently turn up surprises once excavation begins.
A realistic sequence
Most backyard renovations follow a similar order, with overlaps depending on weather and trade availability:
- Brief and site assessment, confirm goals, measure, and note constraints.
- Concept and detailed design, layout, levels, materials and planting.
- Approvals, confirm what is required and lodge early, since approval timeframes vary.
- Quotes and contract, compare itemised quotes, confirm inclusions, and agree a scope and variation process.
- Site establishment and demolition, set up access, protect retained features, remove what is going.
- Excavation, drainage and services, get underground work right before anything covers it.
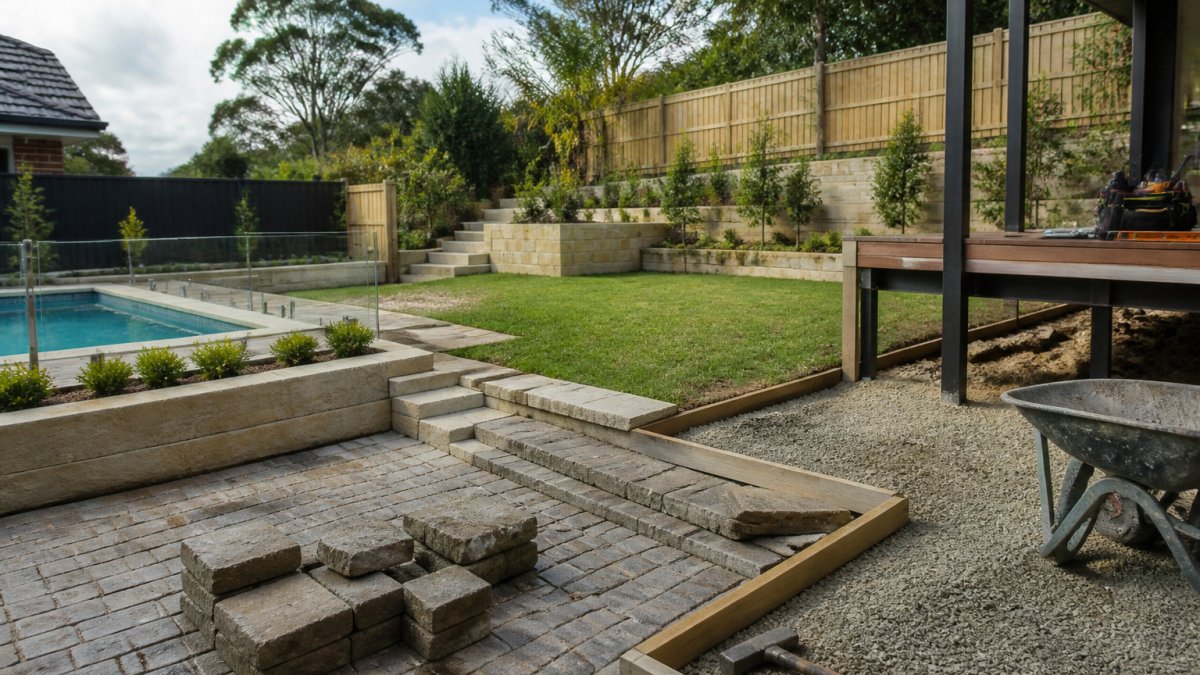
- Hardscaping, retaining walls, paving, concreting, steps and structures.
- Soft landscaping, soil preparation, turf, garden beds and planting, timed to suit the season.
- Finishing and handover, clean-up, inspections and a maintenance brief.
Drainage and underground work must come before paving and planting, and planting is best timed when the weather supports establishment. A realistic timeline keeps trades from undoing each other's work and avoids the most common cause of rework: finishing surfaces before the ground beneath them is settled.
FDSS Landscaping Services works through this sequence from concept and 3D design through construction and completion, so approvals, budget and timing are planned together rather than discovered along the way.
Booking Your Backyard Consultation With FDSS
A backyard renovation is easier to plan when you have a clear design, realistic site information and a professional team to guide the process. FDSS Landscaping Services provides design and construction across the Hills District and North-West Sydney, from first concept through to completion.
If you are ready to start, request a landscaping quote from FDSS Landscaping Services and we will look at your site, your goals and your budget with you.
Frequently Asked Questions
Where should I start when planning a backyard renovation?
Start by deciding how the backyard will be used day to day, then measure and map what you already have. Families, entertainers and people who mainly want low-maintenance green space often need very different layouts. Once you know the priorities, a site assessment covering drainage, soil, sun exposure and access will show what is realistic. Working in this order keeps design decisions tied to real needs rather than trends, and it makes later quote comparisons far easier.
Do I need approval for backyard landscaping work?
Whether you need approval depends on the scope of works, the site and the rules set by your local council or relevant authority. Retaining walls, excavation, changes to drainage and work near trees can all trigger requirements in some situations. Check with your council before committing to a design, and ask your landscape designer or builder to confirm what applies to your property. FDSS can help you understand the questions to ask before work begins.
How long does a backyard renovation take?
Timing varies with the size of the yard, the extent of excavation and construction, weather, material availability and approval timeframes. A typical sequence moves from concept and design through to approvals, then construction in stages such as drainage, structures, paving, planting and turf. Planning these stages in order, and allowing for weather delays, gives a more realistic picture than a single fixed duration. A project-specific schedule is best confirmed when you request a quote.
When should I involve a landscape designer or contractor?
Involve a landscape designer early, before you choose plants, paving or fixtures, so the design can account for drainage, levels, sun and access from the start. A contractor is useful during the design stage to check buildability and costs, and is essential once construction begins. Ask for a written quote that itemises works, and check how the team handles variations and site constraints. Bringing both into the conversation early tends to reduce changes later.