 how-to
Essential Tips for Turf Installation in Western Sydney?
Last Updated: October 24, 2026
Quick Summary
Turf installation in Western Sydney starts with the soil you inherit, and much of the region sits on heavy clay that swells when wet and cracks when dry. Strip the site, excavate 100-150 mm below the finished surface, then build a compacted base of crushed rock and crusher dust with a gentle fall away from the house.
- Excavate roughly 100-150 mm below finished level, and more for high-traffic or disturbed ground.
- Compact crushed rock in 40-50 mm lifts, two or three lifts for a domestic lawn.
- Aim for a surface fall of about 1-2%, roughly 10-20 mm per metre, away from the house.
- Run every artificial turf roll in the same direction so seams do not show a colour shift.
- Natural turf swaps the crushed rock base for a prepared soil profile with organic matter and drainage.
Table of Contents
- Why Turf Installation in Western Sydney Demands Careful Planning
- How to Prepare Ground for Artificial Turf
- How to Level a Yard for Turf
- How to Lay Artificial Grass Step by Step
- Natural Turf Installation: What Changes When You Lay Real Grass
- Artificial Turf Installation Mistakes to Avoid
- Drainage, Slope and Site Conditions That Decide the Result
- Request a Turf Installation Quote From FDSS Landscaping Services
- Frequently Asked Questions
Why Turf Installation in Western Sydney Demands Careful Planning
Turf installation is the process of preparing a site, building a stable base and laying either natural grass or artificial grass so the surface drains, wears and lasts. In Western Sydney, that process starts with the soil you inherit.
This guide covers the preparation steps that decide the result, common mistakes, and where natural turf and artificial turf need different treatment.
How to Prepare Ground for Artificial Turf
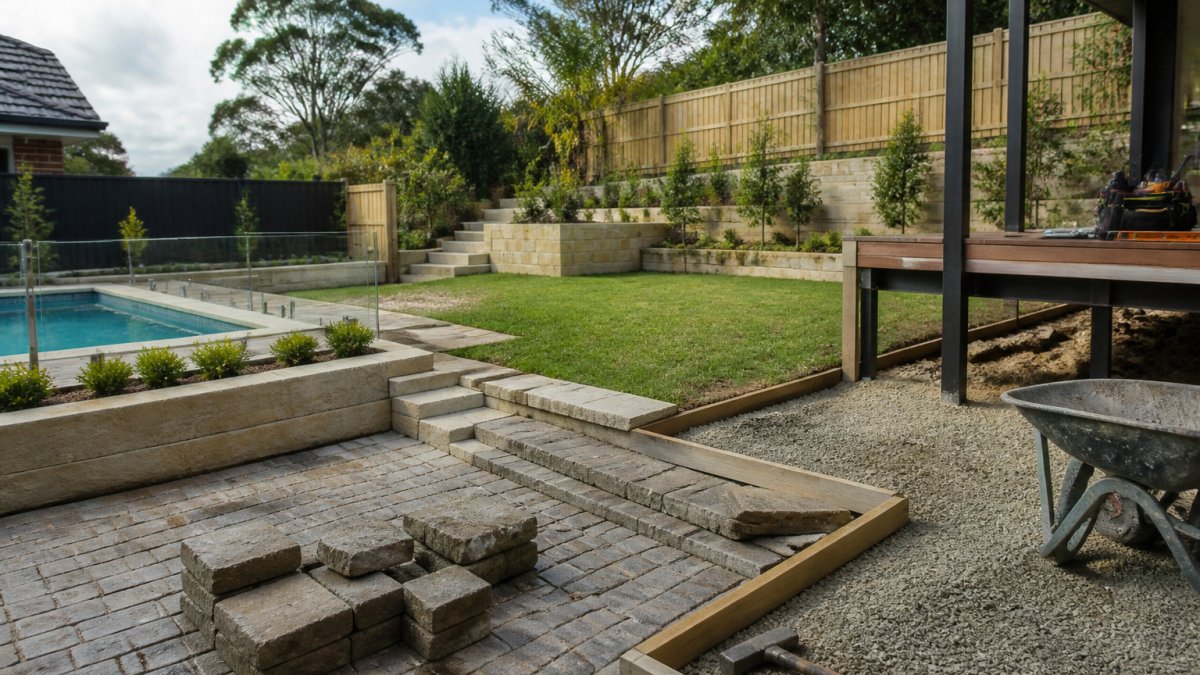
Ground preparation for artificial turf means stripping the site back to a clean, firm base, then building up layers of crushed rock and crusher dust until the surface is flat, compacted and falling slightly for drainage.
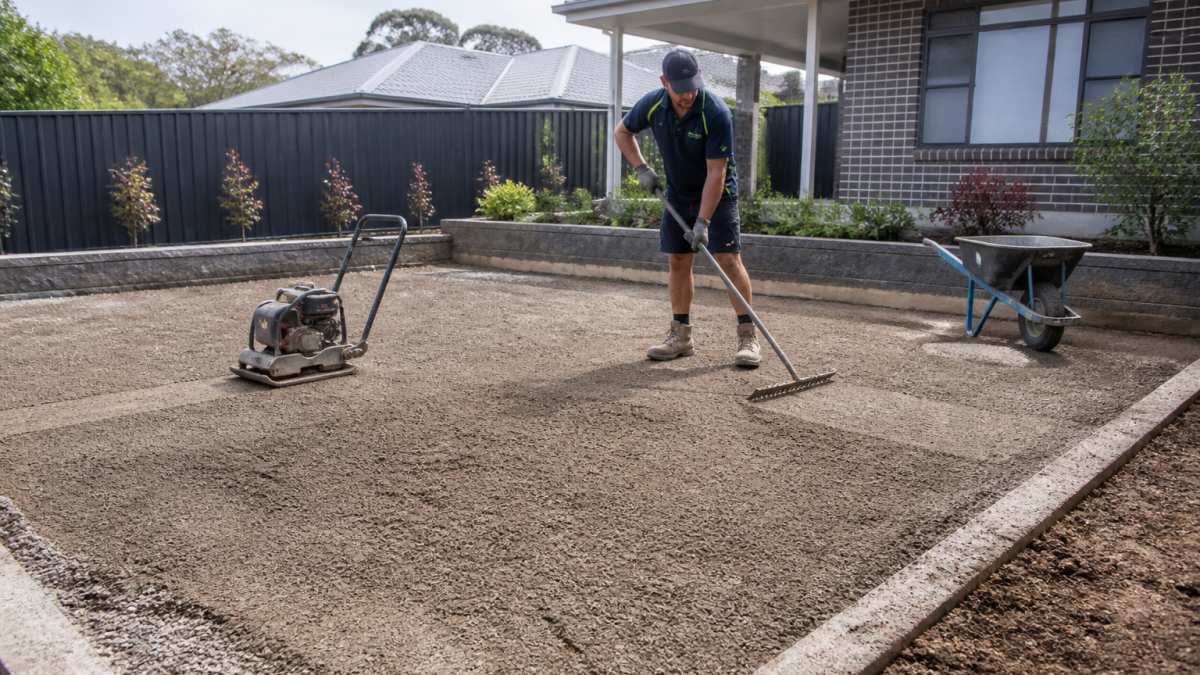
The sequence is always the same: strip, excavate to depth, edge and contain, lay and compact the sub-base in lifts, blind it with crusher dust, then check levels and fall before a single roll comes off the pallet.
Clearing the Site and Removing Existing Lawn
Start by removing everything that will sit under the turf: existing grass, plants, rocks, roots, debris, and any old pavers or edging.
- Strip the existing lawn and set the spoil aside for green waste
- Grub out roots and tree stumps fully, not just at surface level
- Remove rocks and builders' debris left over from construction
If the site needs significant cut and fill, it helps to understand how landscaping and excavation work together before you start.
On the heavy clay that dominates much of the region, stripping alone is not enough. Clay holds water at the interface, so a compacted base laid straight onto it can stay damp and soften over time.
Excavation Depth and Setting the Edges
Work out your finished surface level first, then excavate down from it. A typical domestic build-up is roughly 60-80 mm of compacted crushed rock, 20-30 mm of crusher dust and 30-40 mm of turf, so you are generally removing 100-150 mm below the finished surface.
- Set a string line or laser at the finished level and measure down from it
- Allow extra depth where the subgrade is soft, so you can build a thicker base
- Form a firm edge, timber, concrete kerb or steel edging, to contain the layers
A common pattern is to under-excavate because the spoil pile is already large. That forces a thin base, which is exactly where sinking and rippling begin.
Building the Sub-Base with Crushed Rock and Crusher Dust
The sub-base is the structural layer that carries foot traffic and keeps the surface stable.
Treat the crushed rock as lifts. Spread around 40-50 mm at a time, compact each lift with overlapping passes in two directions, then add the next.
As a rough planning figure, a 50 m² lawn at 70 mm of compacted crushed rock needs roughly 3.5 m³ of base material before compaction, so order with a margin rather than to the exact figure.
Checking Levels, Fall and Compaction Before You Lay
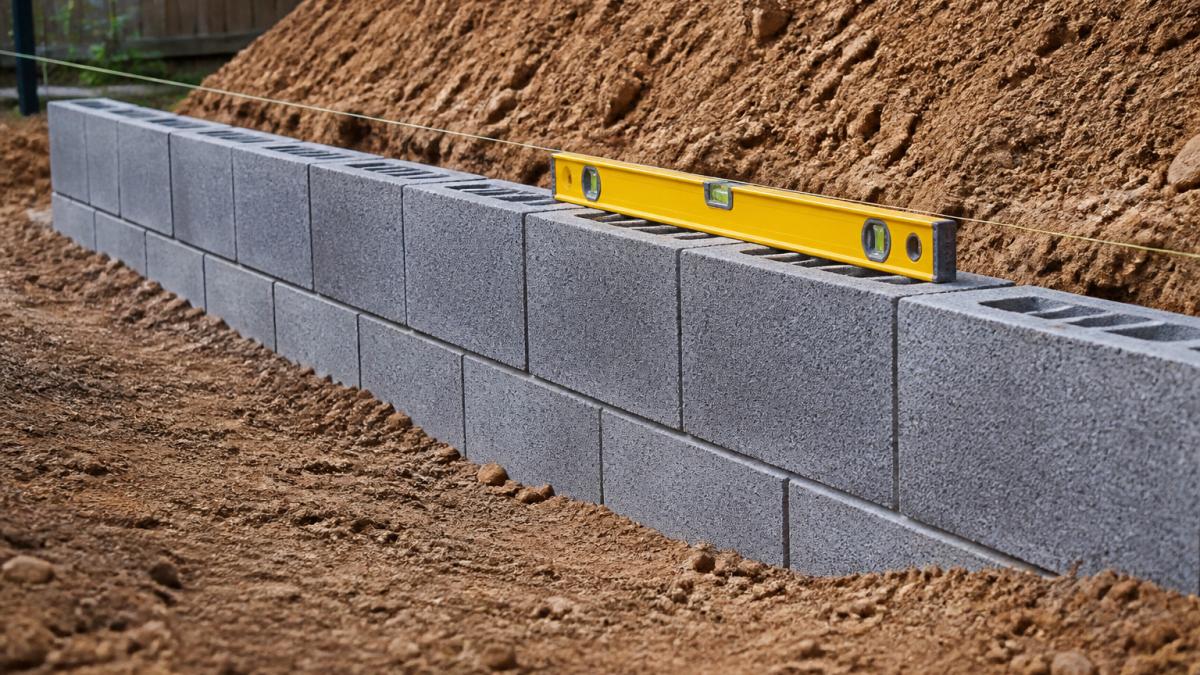
Before the turf goes down, walk the base and test it. A firm, consistent surface with a gentle fall away from the house and boundaries is the goal.
- Check the fall with a straight edge and level, aiming water away from buildings and fence lines
- Probe for soft spots by pressing a bar or screwdriver in
- Re-screed any low spots with crusher dust and re-compact
Getting this stage right separates a lawn that looks flat from one that actually drains. A surface that looks perfect but holds water after rain will fail quickly.
These are the typical build-up depths and quantities the article uses as planning starting points.
| Item | Value | Note |
|---|---|---|
| Compacted crushed rock | 60-80 mm | Typical domestic build-up |
| Crusher dust | 20-30 mm | Fine levelling topping |
| Turf | 30-40 mm | Finished surface layer |
| Total excavation below finished surface | 100-150 mm | More for high-traffic or disturbed ground |
| Crushed rock lifts | 40-50 mm at a time | Two or three lifts normal for a domestic lawn |
| Base material for 50 m² at 70 mm | Roughly 3.5 m³ | Before compaction; order with a margin |
| Crusher dust for 50 m² at 25 mm | About 1.25 m³ | Confirm quantities with your supplier |
How to Level a Yard for Turf
Levelling a yard for turf means getting the base flat while keeping a gentle fall away from buildings so water runs off rather than pooling. Flat and level are not the same thing here.
- Use a straight edge or string line to check the surface as you go
- Rake the crusher dust into the low spots before compacting
- Check the fall with a level, aiming water away from the house and fence lines
How to Lay Artificial Grass Step by Step
Laying artificial grass means rolling out the turf, letting it settle, cutting it to shape, joining seams and securing the edges. The base does the hard work; this stage is about patience and clean cuts.
- Roll out the turf and leave it to relax so ripples flatten
- Position rolls so the turf direction runs the same way on each
- Trim the edges with a sharp knife, leaving a small allowance
- Join seams with joining tape and adhesive, pressing firmly
- Secure the perimeter with stakes or staples
- Brush up the pile and check the surface for high or low spots
Rolling Out, Cutting and Securing the Turf
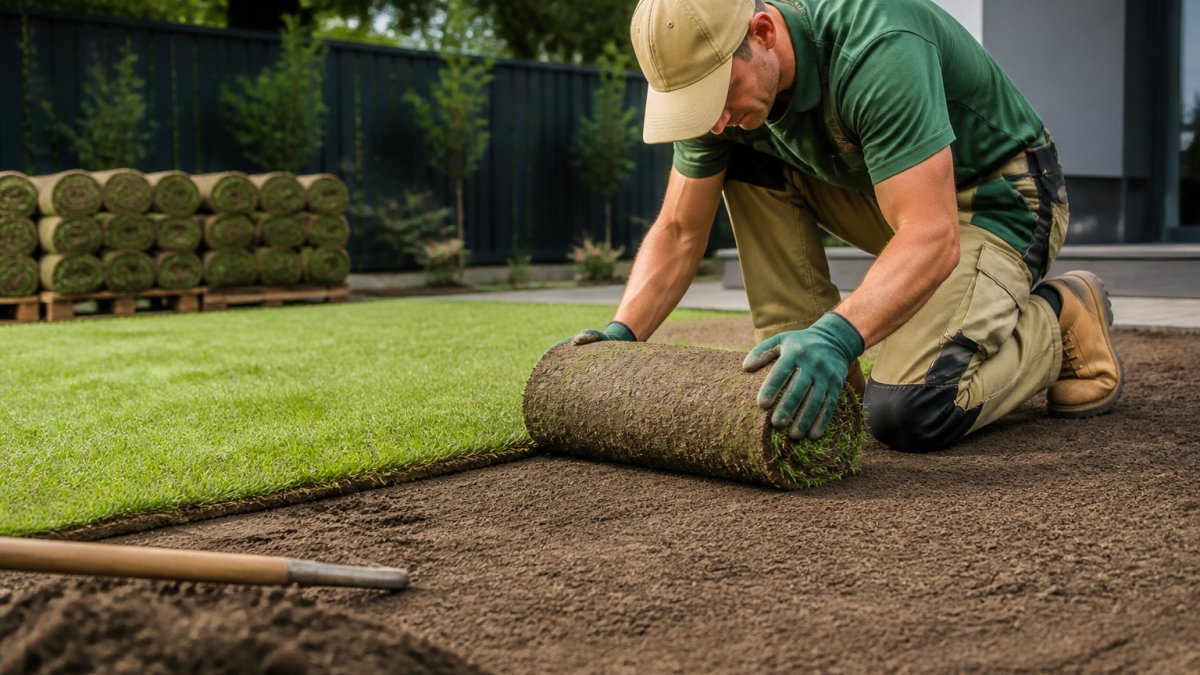
Run every roll in the same direction. Turf has a grain, and mismatched direction shows as a colour shift at the seam. Cut from the back of the turf where you can, and keep blades sharp so edges stay clean.
Secure the turf along all edges and around any fixed objects. If you would rather hand the job over, you can see what turf installation covers as a service, from base preparation through to finishing.
Natural Turf Installation: What Changes When You Lay Real Grass
Natural turf installation swaps the crushed rock base for a prepared soil profile. Instead of compaction, the goal is healthy soil with the right structure, organic matter and drainage for roots to establish.
- Cultivate the subsoil to relieve compaction, then spread topsoil
- Improve heavy clay with organic matter so water moves through it
- Choose a grass type suited to sun, shade and wear on your site
Real grass needs ongoing water, mowing and feeding, so it suits households prepared for that upkeep. If you want less maintenance, it is worth weighing low maintenance ground cover options against a conventional lawn before you commit.
Artificial Turf Installation Mistakes to Avoid
Most artificial turf failures trace back to preparation, not the product. Common errors include:
- Skipping compaction between base layers, which lets the surface sink
- Poor drainage planning, so water pools at the low corner after storms
- Cutting seams badly, leaving visible joins and lifted edges
Each of these is fixable before the turf goes down and expensive afterwards.
Drainage, Slope and Site Conditions That Decide the Result
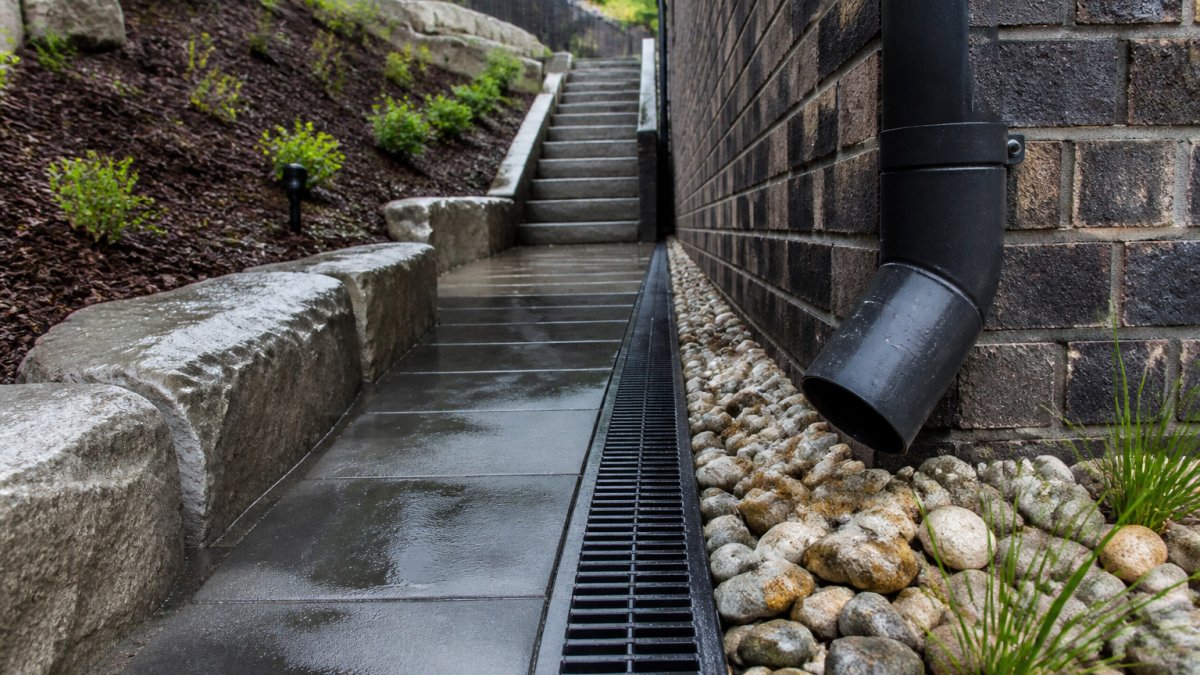
Drainage decides whether a lawn survives its first wet season. Water has to leave the site, not sit under it. On sloped blocks, that means planning where runoff goes before the base goes down.
Sites in Castle Hill, Baulkham Hills and Glenhaven often sit on sloping ground, while blocks around Penrith, St Marys and Mount Druitt can hold water on flat clay. For a deeper look, read our guide to managing drainage issues in sloped gardens.
How Fall and Runoff Actually Work on a Residential Block
A gentle fall is not the same as a steep one. For a lawn, a surface fall of roughly 1-2% away from the house is a common working target, about 10-20 mm per metre, enough to move water without making the lawn feel sloped underfoot.
- Direct fall away from the dwelling and any attached structures
- Avoid discharging runoff onto a neighbour's land or into a boundary that has no lawful outlet
- Where the block falls toward the house, plan a drainage line or surface channel rather than relying on the lawn alone
On a flat clay block, the fall may need to be supplemented by a subsurface drainage line or soakage system. That is a design decision, not a guess, and it depends on where water can legally and practically go.
What Local Soil and Weather Do to a Lawn
The region's heavy clay is the single biggest local factor. It swells when wet and cracks when dry, so a base built without accounting for it can move seasonally. Summer heat dries the surface quickly, and intense storms test whether the fall and drainage were planned or improvised.
- Clay subgrades need a well-graded base and a clear path for water to leave
- Sandy or filled sites drain faster but can be less stable under compaction
- Shaded yards stay damp longer and suit different turf choices than full-sun lawns
Aftercare and Troubleshooting After Installation
Settling is normal in the first weeks. What matters is telling harmless settling apart from a problem that needs fixing.
- Check the surface after heavy rain for low spots, soft patches or water sitting at edges
- Top-dress and re-level small dips before they become trip points or wear patches
- For artificial turf, brush the pile and check seams and edges for lifting
If a low spot keeps returning, the cause is usually in the base rather than the surface, and patching over it will not last. Council requirements for drainage, levels and boundary works vary by site and authority, so confirm with your local council before altering levels or directing runoff near a boundary.
Request a Turf Installation Quote From FDSS Landscaping Services
Getting the base right is the difference between a lawn that lasts and one you redo. If you would rather have it done properly from the start, request a quote and we will assess your site, levels and drainage before recommending an approach.
At FDSS Landscaping Services, we handle turf installation as part of complete landscape construction across the Hills District, North-West Sydney and Greater Sydney.
Frequently Asked Questions
How do you prepare the ground before installing turf?
Clear the area of existing lawn, rocks, roots and debris, then excavate to the depth your chosen product needs. Build a sub-base of crushed rock, top it with a fine levelling layer such as crusher dust, and compact it in stages until it is firm and even. Check the slope so water runs away from the house, and confirm drainage before any turf goes down. Skipping compaction or levelling is the most common reason turf installation fails early.
How do you level a yard for turf?
Level in layers rather than one thick dump of material. Spread the base in stages, rake each layer roughly even, then compact before adding the next. Use a straight edge or string line to check for high and low spots, and keep a gentle fall toward a drainage point. For how to level a yard for turf on sloping blocks, retaining walls or drainage corrections may be needed, and those works depend on the site and council requirements.
What are the most common artificial turf installation mistakes?
The recurring artificial turf installation mistakes are shallow or uncompacted base layers, poor levelling that leaves hollows for water to pool in, and ignoring drainage until after the turf is down. Others include cutting rolls without checking turf direction, leaving visible seams, and failing to secure edges properly. Each is difficult and costly to fix once the surface is finished, which is why ground preparation deserves most of your time and budget.
How should new turf be cared for after installation?
Natural turf needs watering straight after laying and regular deep watering through its first weeks while roots establish, plus staying off it until it knits to the soil. Artificial turf needs a light rinse to settle infill, a check that edges and seams are secure, and a brush to lift fibres. In either case, keep leaves and debris off the surface so water can drain freely, and address any pooling quickly.