 how-to
How to Build a Level Patio on a Steep Block
Last Updated: November 8, 2026
Quick Summary
To build a level patio on a steep block, measure the fall first, then choose cut and fill for drops under roughly 500mm, a raised platform with a retaining wall for 500mm to 1.5m, or tiered levels beyond that. Design the retaining wall and drainage before the base, then compact and screed the paver base in thin layers.
- Run a string line or laser level from the highest to lowest point to measure the drop.
- A patio running across the contour needs less earthworks than one running down the hill.
- Lay the first retaining wall course dead level, as it controls the whole wall.
- Backfill soil in thin compacted layers, never one thick lift.
- Keep the finished patio surface slightly below internal floor level so water cannot run inside.
Table of Contents
- Assessing Your Steep Block Before You Build a Level Patio
- Paver Patio on a Slope: Choosing the Right Approach
- Retaining Wall for Sloping Block Patio: Design and Construction
- Patio Drainage on a Slope: Managing Runoff and Water
- Paver Base Preparation on Sloping Ground
- Permits, Boundaries and When to Involve an Engineer
- Request a Landscaping Quote for Your Sloping Block Patio
- Frequently Asked Questions
Assessing Your Steep Block Before You Build a Level Patio
Building a level patio on a steep block starts with reading the site honestly. On sloping blocks across the Hills District, a common mistake is choosing a paver colour before anyone has measured the fall.
A level patio is a flat, stable paved surface that sits on ground engineered to hold it. On a steep block, that flat surface needs support, drainage and a plan before a single paver goes down.
Measuring Slope and Choosing Your Patio Layout
Measure the fall before you design anything. A simple method is to run a string line from the highest point of the proposed patio to the lowest, then measure the drop over that distance.
- Drop under roughly 500mm across the footprint: a cut and fill approach usually works.
- Drop of 500mm to 1.5m: a raised patio with a retaining wall is often the practical answer.
- Drop beyond that: tiered levels or an engineered design are worth discussing early.
Slope also decides layout. A patio running across the contour needs less earthworks than one running straight down the hill. Check where the sun lands, where you want to walk out from the house, and where water naturally drains.
Paver Patio on a Slope: Choosing the Right Approach
A paver patio on a slope can be built three main ways, and the right one depends on your measured fall, budget and how much usable space you want. There is no single best method. The block decides.
Cut and Fill vs. Raised Platform vs. Tiered Design
Cut and fill excavates the high side and uses that soil to build up the low side. It suits gentle slopes and keeps the patio close to natural ground level.
Raised platform builds a retaining wall on the low side and fills behind it to create a level pad.
Tiered or multi-level design splits the patio into two or three flat zones connected by steps. It handles big drops well and can look excellent, but it uses more materials and more wall.
| Approach | Best for | Main trade-off |
|---|---|---|
| Cut and fill | Gentle slopes under ~500mm fall | More excavation, fill compaction |
| Raised platform | Steep blocks needing flat space | Retaining wall engineering and drainage |
| Tiered design | Large drops, terraced gardens | Higher material and labour input |
If you want a professional build behind the pavers, our paving services cover the full installation from base to finish.
Retaining Wall for Sloping Block Patio: Design and Construction
A retaining wall for a sloping block patio is a structural element, not a garden edge. It holds back soil and supports the level pad, so it must be designed for the load it carries. Wall height, soil type, surcharge loads and drainage all affect the design, and the taller the wall, the more those factors matter.
Wall types and when each suits a sloping block
- Segmental block walls are the workhorse for raised patios. Interlocking blocks, often with geogrid reinforcement in the upper courses, suit walls from low garden height up to taller engineered structures. They are fast to build and easy to detail with drainage aggregate behind.
- Concrete sleeper walls suit tighter footprints and taller retained heights where a slim profile matters. They need a proper footing and engineer input once height climbs.
- Timber sleeper walls can work for low retained heights and softer garden edges, but they have a shorter service life in wet conditions and are not the choice for supporting a loaded patio.
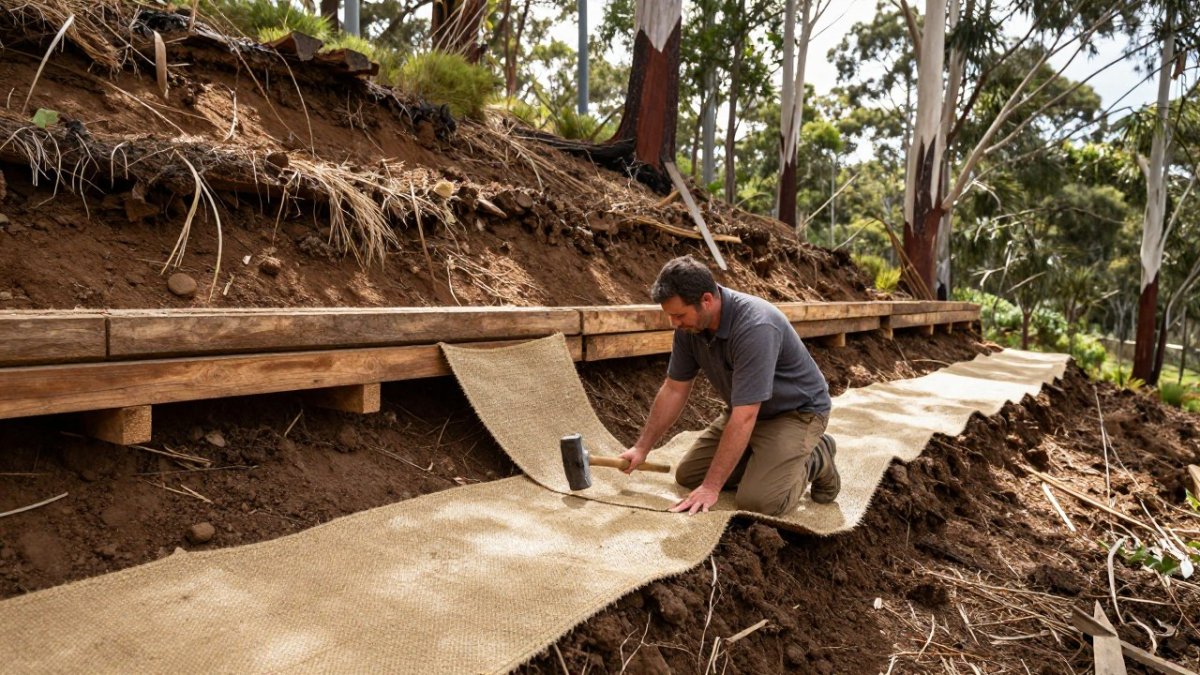
A common pattern on steep blocks is a segmental block wall on the low side with geogrid, drainage aggregate and a level form board set to the finished patio height. The wall is built up in courses, soil is compacted behind it in layers, and the patio base is then formed on top.
Loads, height and the engineering trigger
Every retaining wall carries three loads: the soil behind it, water pressure if drainage fails, and surcharge from anything sitting above or behind it, a patio, a driveway, a shed or a neighbouring structure. Surcharge is the one homeowners underestimate. A wall that looks fine as a garden edge can be badly under-designed once a loaded patio sits behind it.
Height is the usual trigger for engineering input. Walls that carry surcharge, sit near boundaries or sit on poor soil generally need site-specific design, and requirements depend on the site and relevant council or authority. Requirements vary by site and council, so confirm the threshold with your local authority or a qualified certifier rather than assuming a height is safe.
Construction sequence that prevents movement
- Set out the wall line and confirm the finished patio height with a level form board.
- Excavate a base trench and compact a levelling pad of aggregate.
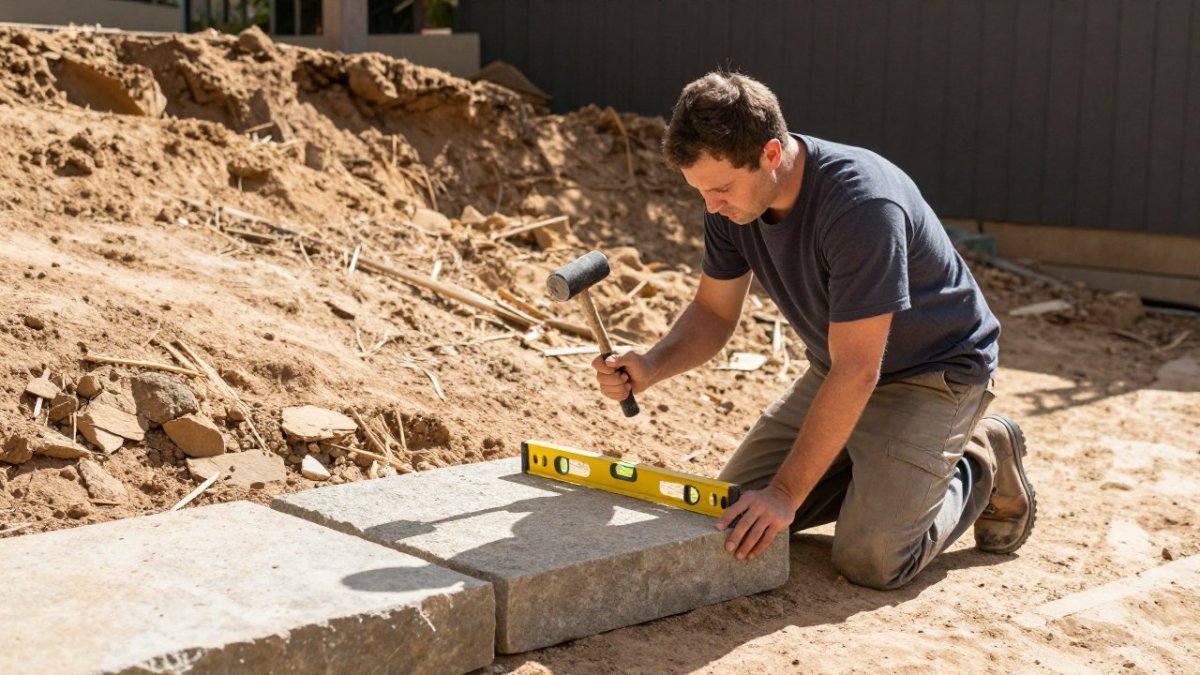
- Lay the first course dead level, this course controls the whole wall.
- Install drainage aggregate and a drainage line behind the wall as you build up.
- Add geogrid reinforcement at the specified courses for taller walls.
- Compact backfill soil in thin layers, not one thick lift.
- Cap the wall and tie it into the patio edge detail.
Watch out: backfilling before the drainage line and aggregate are in place traps water behind the wall, and that pressure is a leading cause of wall bulge and failure.
Because requirements vary by site and council, wall height and design often need input from an engineer or certifier. Our retaining walls service covers design and construction for sloping sites.
Patio Drainage on a Slope: Managing Runoff and Water
Water is the number one cause of failed patios on sloping ground. Runoff from the uphill side will find the patio unless you direct it away, and a level patio on a slope needs a fall of its own plus a clear path for water to leave the site.
How water actually undermines a patio
On a sloping block, water arrives from three directions: sheet flow off the uphill ground, roof and surface runoff from the house, and groundwater moving through the soil. If any of that reaches the base, it softens the subgrade, washes fines out of the aggregate and creates voids under the pavers. The pavers then rock, sink or lift, and the retaining wall behind the patio starts carrying water pressure it was never designed for. That is why drainage is designed at the same time as the wall and base, not added afterwards.
Fall, levels and where water should go
A level patio is never truly dead level. A gentle fall away from the house helps surface water shed rather than pond. The fall should run to a defined low point or edge, not simply off the side of the block where it can pool against a neighbour or a wall.
- Grade surrounding soil to fall away from the patio on all open sides.
- Set the patio fall away from the house and towards a drainage point.
- Keep the finished patio surface slightly below the internal floor level so water cannot run back inside.
Drainage layers and outlets
Behind a retaining wall, the standard detail is a drainage aggregate layer wrapped in geotextile, with a slotted drainage line at the base of the wall falling to an outlet.
Watch out: a drainage line that falls the wrong way, or an outlet that discharges back against the wall, turns the drainage system into the problem rather than the fix.
For a deeper look at fixing water problems on sloping sites, see our guide to managing drainage issues in sloped Sydney gardens.
Paver Base Preparation on Sloping Ground
Paver base preparation on sloping ground is where most DIY patios fail. The base must be stable, compacted and truly level, and on a slope that means careful cut and fill first.
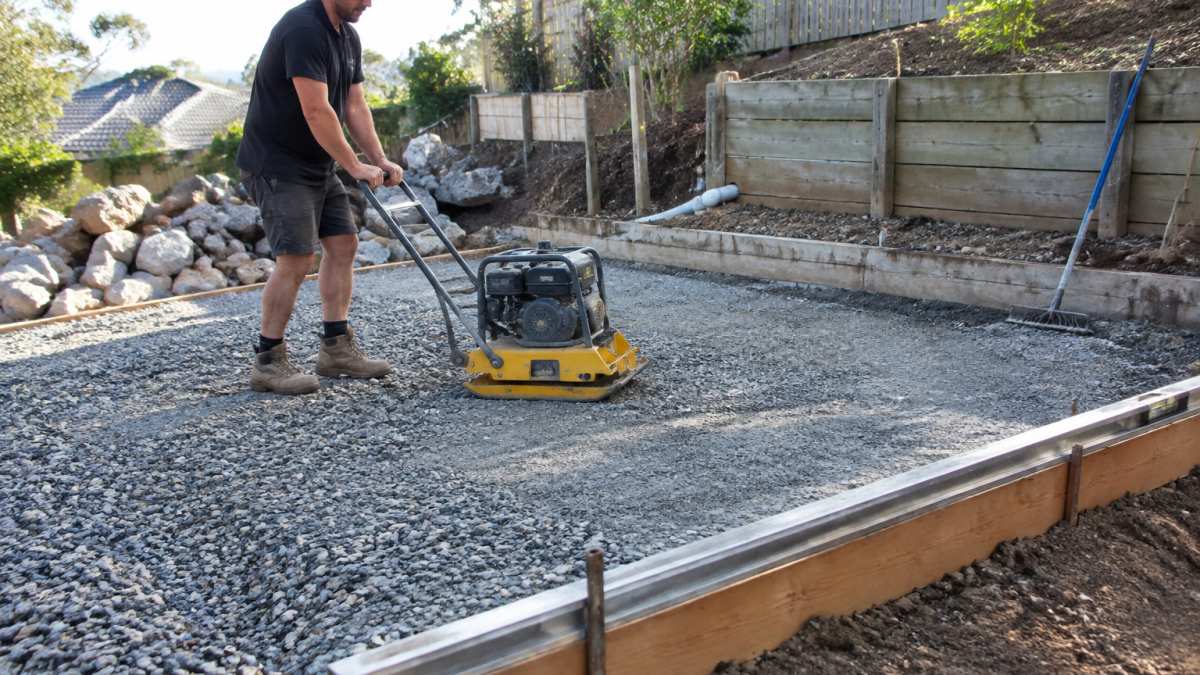
Compaction, Screeding and Checking for Level
The sequence matters:
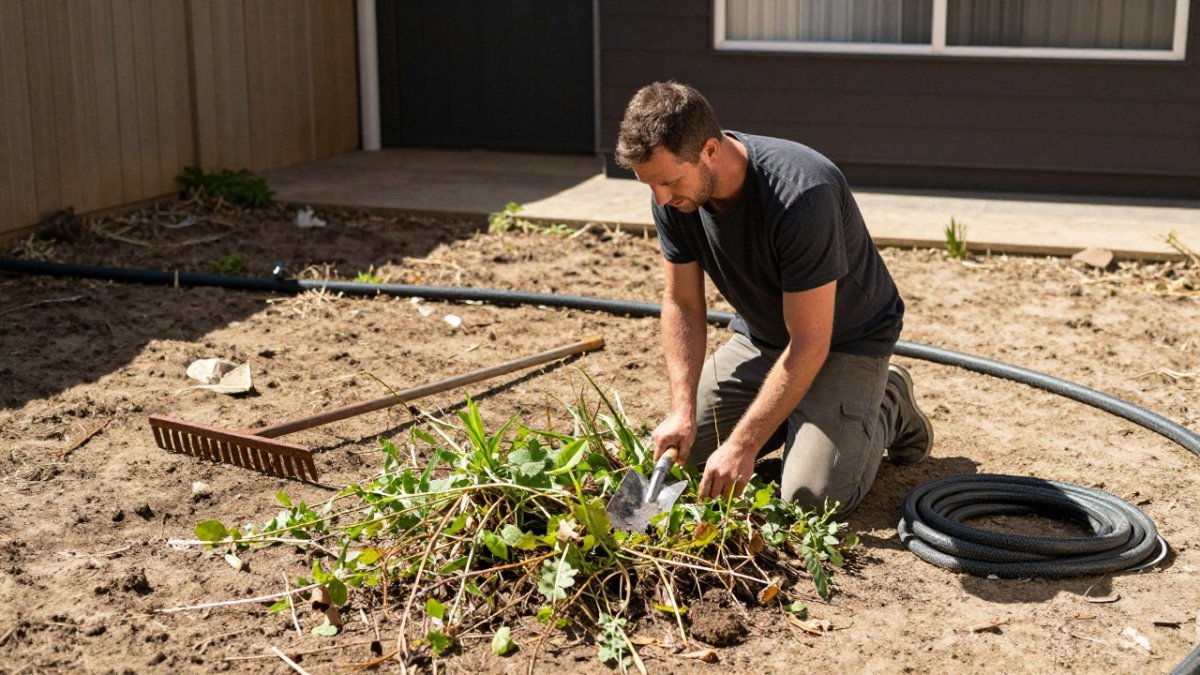
- Excavate or fill to the required subgrade level.
- Lay base rock or aggregate in layers.
- Compact each layer with a plate compactor.
- Screed the final layer using form boards as a guide.
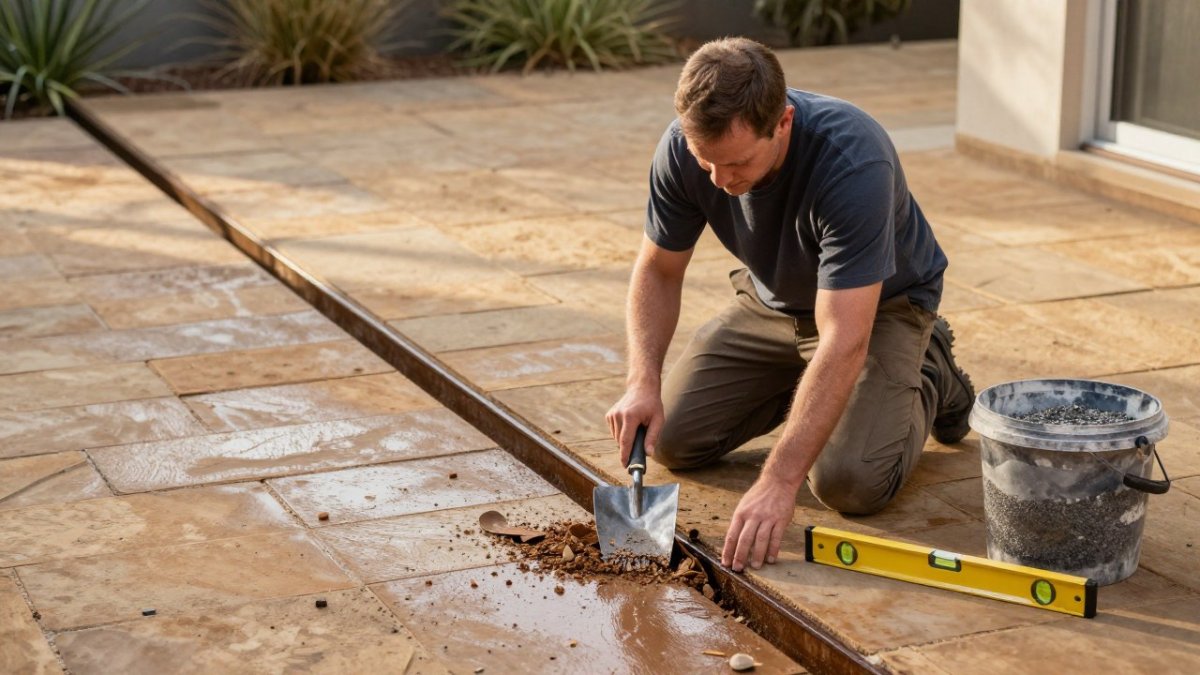
- Check for level with a straight edge and spirit level.
- Rake smooth and recheck before laying pavers.
Compaction is the step people rush. Each layer needs proper moisture and passes with the compactor. A common mistake is compacting one thick layer instead of several thin ones. On larger cuts, professional excavation services can help make the earthworks more manageable.
Permits, Boundaries and When to Involve an Engineer
Approvals depend on your site, the wall height, the amount of cut and fill, and your local council's rules. There is no blanket answer. Requirements vary by site and relevant council or authority, so confirm what applies before work starts.
Before you build:
- Check your property boundaries with a survey.
- Ask your council what approvals apply to retaining walls and earthworks.
- Get engineering advice for tall walls or deep cuts.
- Keep drainage and stormwater plans on file.
Confirm requirements with your council or a qualified certifier before work starts.
Request a Landscaping Quote for Your Sloping Block Patio
A steep block is not a barrier to a great patio. It just needs the right approach from the start: measure the slope, choose between cut and fill, a raised platform or tiered levels, design the retaining wall and drainage properly, and prepare a compacted, level base.
FDSS Landscaping Services handles the full project from concept and 3D design through to construction, including retaining walls, paving, excavation and drainage. If you want a level patio that lasts on your sloping block, request a landscaping quote and we will assess your site and recommend the right approach.
Your sloping block can become the best outdoor space on the property, but only if the ground, wall and drainage are planned together. FDSS Landscaping Services brings design, excavation, retaining walls and paving under one team, so nothing gets missed between trades.
Frequently Asked Questions
Can you build a level patio on a steep block?
Yes, a level patio can be built on a steep block, but it usually requires a structural solution such as a retaining wall, a raised platform on piers, or a tiered design rather than simple cut and fill. The right approach depends on the gradient, soil type, drainage and access. A site assessment by an experienced landscaper will confirm what is feasible and whether engineering input is needed.
Do you need a retaining wall to build a patio on a slope?
Not always, but a retaining wall for a sloping block patio is common where you need to hold back soil to create a flat area. Shallow slopes may only need cut and fill with a low edge restraint, while steeper blocks often need a designed wall. Requirements depend on the site and relevant council or authority, so confirm before construction.
How do you stop water running onto or under a patio?
Patio drainage on a slope should direct surface water away from the house and patio edge using a slight fall, ag drains, and subsoil drainage behind retaining walls. Runoff from higher ground needs to be intercepted before it reaches the patio. The exact system depends on the site, so plan drainage as part of the design rather than adding it later.
What base is best for pavers on sloping ground?
A compacted crushed rock base with proper edge restraint is typically used for a paver patio on a slope. The base must be excavated to a consistent depth, compacted in layers, and screeded to a fall for drainage. On steep ground, a geotextile layer and drainage aggregate may be needed. Base preparation on sloping ground is critical to prevent settling and movement.