 how-to
Backyard Prep for Landscaping: Essential Steps to Get Right
Last Updated: November 9, 2026
Quick Summary
Effective backyard prep follows a set sequence: a professional site assessment that measures levels and diagnoses drainage, locating services before anyone digs, clearing weeds and debris, stripping grass, then testing and amending soil. Plan materials, disposal and access from your measurements, and sequence drainage and retaining walls before hardscape and turf.
- Record the fall across your yard in millimetres per metre so grading decisions match your drainage design.
- Confirm where water, sewer, gas, electricity and communications run before a machine or shovel touches the ground.
- Strip grass deep enough to take the root zone, or leftover root matter regrows through mulch and new beds.
- Test soil for pH and composition before amending, then cultivate to loosen compaction and improve structure.
- Allow 5 to 10 per cent waste on paving quantities for cuts and breakage.
Table of Contents
- Why Backyard Prep Decides How the Whole Project Goes
- Start With a Professional Landscape Site Assessment
- Clear the Site: Weeds, Debris, Rocks and Unwanted Plants
- Remove Grass and Strip the Existing Lawn Area
- Soil Preparation for New Lawn and Garden Beds
- Retaining Wall Requirements NSW: What to Check Before You Build
- Sequence the Work and Plan Materials and Budget
- Request a Landscaping Quote for Your Backyard Project
- Frequently Asked Questions
Why Backyard Prep Decides How the Whole Project Goes
Most backyard projects don't fail at the paving or the planting stage. They fail before anyone lifts a shovel. Get the essential steps for preparing your backyard for landscaping right, and every stage that follows, from retaining walls to turf, lands on solid ground.
Across landscaping projects, much of a build's success is decided in the first week of site work. Backyard prep is the foundation everything else sits on: levels, drainage, soil structure and access. Skip a step and the finish work inherits the problem.
Here's what most guides get wrong: they treat prep as a checklist of chores. It's really a sequence of decisions. Below, we'll walk through the full process in order, including the two steps most homeowners leave out, and how to sequence the work so trades aren't tripping over each other.
Your Home's guide to site preparation and drainage
Start With a Professional Landscape Site Assessment
A professional landscape site assessment is a structured survey of your block before any work begins. It records levels, drainage patterns, soil, access and existing services, and it's the single most useful document you'll have for the whole project. Time spent measuring and diagnosing at this stage can prevent rework later.
Measuring, Grading and Diagnosing Drainage
Measure the block properly, not by pacing it out. You need boundary setbacks, the fall across the yard, and where water currently sits after heavy rain.
Diagnosing drainage is more than spotting puddles. Watch the yard during heavy rain and note where water ponds, how long it takes to drain, and whether it flows toward or away from the house.
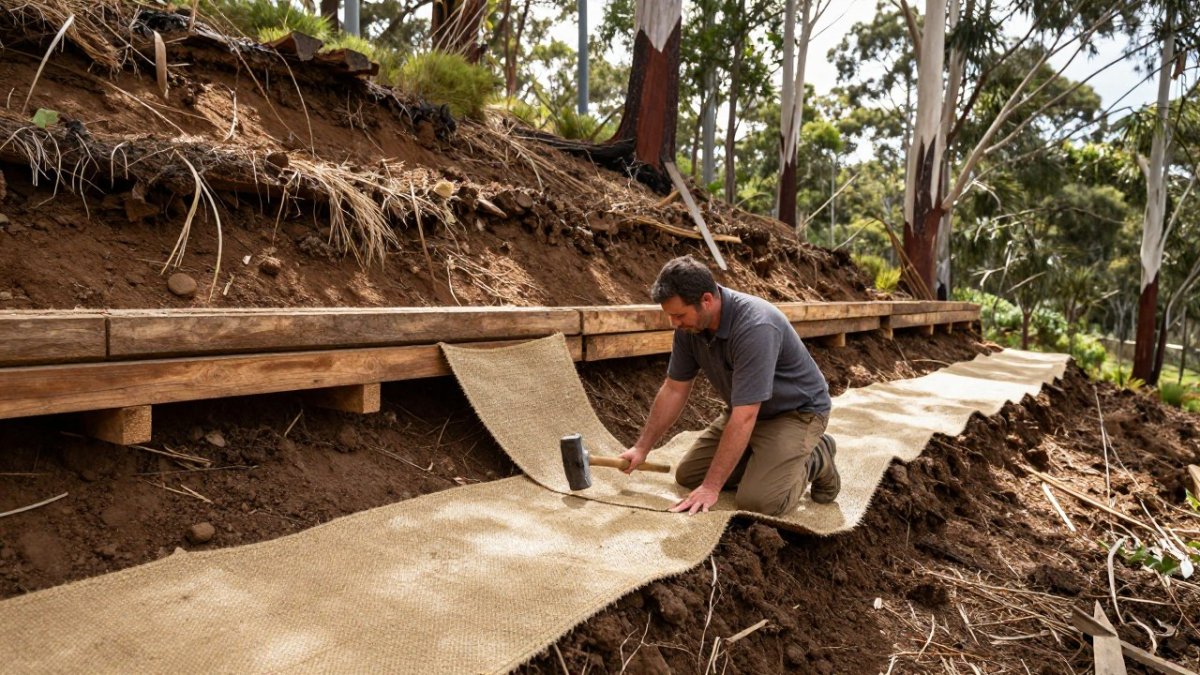
Sun exposure and shade matter too. Track which parts of the yard get morning sun and which stay damp, because that shapes plant selection and where hardscape makes sense. If your block slopes significantly, our guide to preparing a sloping block for landscaping walks through terracing and drainage in more detail.
Locating Services Before Anyone Digs
Before a machine or shovel touches the ground, confirm where water, sewer, gas, electricity and communications run. Councils and utility providers hold this information, and requirements vary by site and authority. Requesting utility plans from the relevant providers and checking for easements on your title are sensible early steps. Safe digging starts with knowing what's underneath.
A simple safe-digging checklist: obtain current service plans, mark the proposed excavation area, have services located and marked physically, hand-expose any services near the dig zone, and keep a spotter on hand when machinery is working near marked lines. For heavy clearing, excavation or large rock removal, our excavation services cover the machinery side of the job.
Clear the Site: Weeds, Debris, Rocks and Unwanted Plants
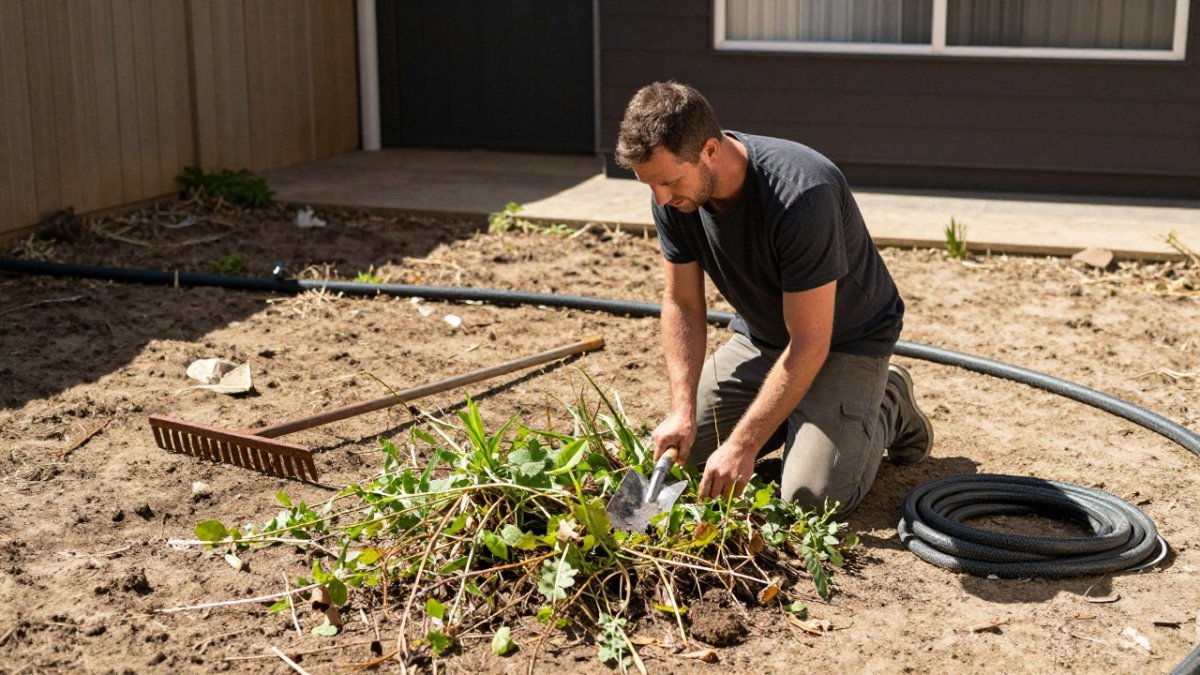
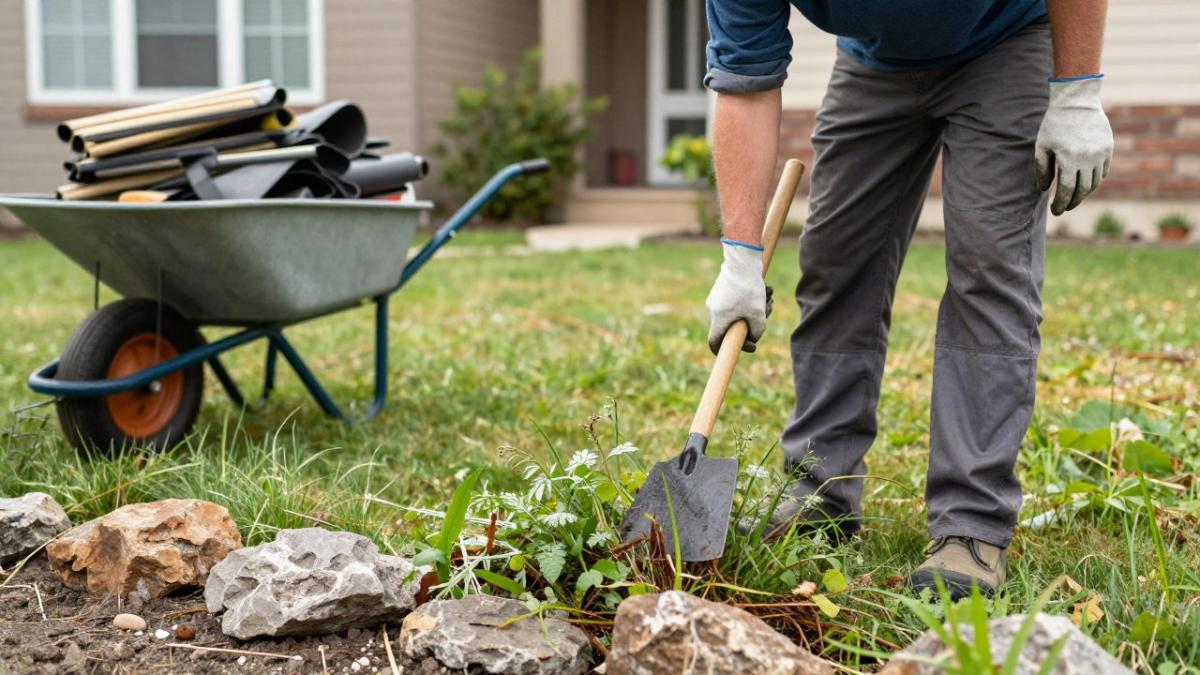
Clearing is where the yard starts to look worse before it looks better. Remove weeds, green waste, rubble and any unwanted plants, including roots, not just tops. Roots left behind resurface through fresh topsoil within a season.
Decide what stays before you start pulling things out. Mature trees and healthy plants are worth protecting, and some may be subject to council tree preservation rules. Mark keepers clearly so they aren't damaged by machinery. For heavy clearing, excavation or large rock removal, our excavation services cover the machinery side of the job.
Remove Grass and Strip the Existing Lawn Area
Grass removal is a decision point, not just a demolition task. You can strip turf by machine, smother it, or spray and wait. Each suits different timelines and different plans for the space.
If the new design keeps lawn somewhere, strip only where hardscape, garden beds or new turf will go. Keep the good turf intact and protected. Where the old lawn is being replaced, removing the top layer cleanly now saves problems later when new turf is laid over uneven ground.
Watch out: stripping grass too shallow leaves root matter that regrows through mulch and new beds. Cut deep enough to take the root zone, then dispose of green waste responsibly.
Soil Preparation for New Lawn and Garden Beds
Good soil preparation for new lawn and garden beds is about structure, drainage and nutrition, in that order. Compacted soil is the most common problem we find: it sheds water, starves roots and undermines everything planted into it.
Testing Soil, Cultivating and Amending
Test the soil before amending it. A simple pH and composition test tells you whether you're working with clay, sand or loam, and whether lime or gypsum is warranted. Then cultivate to loosen compaction, remove rocks and roots, and improve soil structure.
Amend with compost and appropriate soil amendments, and set finished levels so water drains away from the house. Raised beds solve poor drainage and shallow soil in one move. Once beds and levels are right, professional turf installation shows what proper preparation delivers for a new lawn.
Retaining Wall Requirements NSW: What to Check Before You Build
Retaining wall requirements NSW depend on the site, the wall height, the loads it carries and your local council's rules. There's no single answer, and anyone who gives you one without seeing the site is guessing.
In practice, this means checking with your council or a qualified engineer before building. Walls supporting structures, walls near boundaries and walls on slopes can require engineering input or approval, depending on the site. Requirements vary by council and site conditions, so confirm the specifics for your property.
A wall built without that groundwork can fail, lean or create drainage problems that affect neighbouring land. If you're weighing up a wall, our retaining walls service covers design, materials and construction.
Sequence the Work and Plan Materials and Budget
Sequencing separates a smooth project from a chaotic one. The order below is the one we work to, and it's worth planning against before you commit to a start date.
| Step | What Happens | Depends On |
|---|---|---|
| 1. Site assessment | Measure, grade, diagnose drainage, locate services | Access to the property |
| 2. Clearing | Remove weeds, debris, rocks, unwanted plants | Assessment complete |
| 3. Grass removal | Strip lawn where new work goes | Clearing done |
| 4. Soil preparation | Test, cultivate, amend, set levels | Clearing and stripping done |
| 5. Drainage and retaining | Install drainage, build walls | Soil levels and engineering confirmed |
| 6. Hardscape and turf | Paving, concreting, turf, planting | Drainage and walls complete |
Estimating Material Quantities
Plan material quantities from your measurements, not from guesswork at the hardware store. For topsoil, mulch and turf, the basic calculation is area in square metres multiplied by the depth or thickness you need. Typical depths vary by product and site, so confirm the depth needed for your plan with your supplier or landscaper. Convert cubic metres to tonnes using the supplier's density figure, because bagged and bulk products vary. For paving, calculate the area and add a waste allowance, most practitioners allow 5 to 10 per cent for cuts and breakage. Order topsoil, mulch and paving after levels are set, not before, so you're not storing material on a site that's still being graded.
Planning Disposal and Access
Budget for disposal of green waste and spoil. Clearing and stripping generate more volume than most homeowners expect, and skip bins or tip fees depend on the type and quantity of waste. Check whether your council offers green waste collection or a tip voucher, and confirm access for trucks and machinery, narrow side gates, overhead powerlines and steep driveways all affect what equipment can reach the backyard. If access is tight, plan for smaller machines or manual handling, which changes both the timeline and the labour component of any quote.
Phasing the Work and Realistic Timelines
A phased schedule prevents trades from tripping over each other. Clearing and stripping usually come first, then grading and drainage, then soil preparation, then hardscape, and finally turf and planting. Each phase depends on the one before it, and rushing the sequence, laying turf before drainage is sorted, for example, creates rework. Weather also plays a part: heavy rain can delay excavation and soil work, so build some float into your start date. Pricing depends on quantities, site access and material choice, so request a quote from FDSS Landscaping Services for current pricing.
Request a Landscaping Quote for Your Backyard Project
Prep work done properly makes the quote more accurate and the build faster. If you'd rather hand the whole sequence to one team, from assessment through to turf and planting, that's what we do.
At FDSS Landscaping Services, we provide end-to-end landscape design and construction across the Hills District and North-West Sydney, from Castle Hill and Baulkham Hills through to Rouse Hill, Kellyville and The Ponds. FDSS Landscaping Services offers an integrated design-and-build approach, with one team handling concept, 3D design, construction and completion.
The best next step is a site visit. We'll assess your block, talk through the prep your project needs, and give you a clear path forward.
Ready to get your backyard build off to the right start? Request a quote from FDSS Landscaping Services and we'll assess your site and map out the prep work your project needs.
Frequently Asked Questions
What are the first steps to take before starting a backyard landscaping project?
Start with an assessment rather than a shopping list. Walk the yard and note slope, wet patches, shade, existing plants worth keeping and access for machinery. Then have the site measured and levels checked, confirm where underground services run before any digging, and decide what gets cleared. Only after that should you plan layout, soil works and materials. Getting the backyard prep order right at the start prevents rework once paving, turf or retaining walls begin.
Do I need council approval for landscaping in the Hills District?
It depends on the site and the scope of work. Simple garden beds and turf usually need no approval, while retaining walls, significant earthworks, drainage changes or structures can trigger requirements under your local council's rules. Because these vary between councils and properties, check with the relevant authority before construction starts. A professional landscape site assessment will identify which elements are likely to need approval so you can plan the paperwork into the timeline.
How do I prepare my soil for new turf installation?
Soil preparation for new lawn starts with removing the old grass and weeds, then loosening the top layer so roots can establish. Test the soil and add compost or amendments where it is compacted, too sandy or too clay-heavy, and correct the levels so water drains away from the house. Rake to a smooth, firm surface before laying turf. Skimping on this stage shows up later as patchy growth, pooling water and turf that lifts at the edges.
How long does the site preparation phase take for a professional landscaping project?
There is no single answer because it depends on block size, access, how much clearing is needed and whether drainage or retaining walls are involved. A straightforward backyard prep on a clear block may take days, while a sloping site with heavy vegetation, excavation or approval requirements can take considerably longer. Sequencing matters too: soil works usually follow drainage and retaining walls, not the other way around. A site assessment gives you a realistic timeline before work begins.