 ultimate-guide
Landscaping Design for New Build Homes: A 2026 Guide
Table of Contents
- Why New Build Landscaping Design Differs from a Standard Garden
- Step 1: Site Assessment and Planning for Drainage and Site Levels
- Step 2: Soil Remediation and Ground Preparation
- Step 3: Structural Landscaping and Sydney Retaining Walls
- Step 4: Designing Outdoor Living and Alfresco Areas
- Step 5: The Landscape Construction Process Explained
- Using 3D Landscape Design Services to Visualise Your Plan
- Budgeting, Council Approvals and Phased Timelines
- Frequently Asked Questions
Last Updated: September 5, 2026
Why New Build Landscaping Design Differs from a Standard Garden
Landscaping design for new build homes is a different discipline from renovating an established garden. A mature property has settled soil, existing drainage patterns and useful topsoil. A new build site has none of these advantages, construction strips the land, compacts the earth and leaves behind rubble and clay that needs significant remediation before anything will grow.
Most homeowners treat the garden as an afterthought once the builders hand over the keys. At FDSS landscaping and building services, we see this constantly across Castle Hill, Kellyville and Rouse Hill, where new estates have replaced former farmland. Getting the sequence right from the start saves thousands in rework later.
Step 1: Site Assessment and Planning for Drainage and Site Levels
The first step is a thorough site assessment: survey the block to understand existing levels, identify where stormwater flows and locate services such as sewer lines, water mains and underground cabling. A proper survey reveals whether the block falls towards the house, a common problem on sloping new estates.
Drainage must be resolved before any aesthetic work begins. Poor drainage leads to water pooling against the slab, damp in the subfloor and erosion that undermines paving and retaining walls. A residential drainage system typically involves re-grading the site so water moves away from structures, installing agricultural or channel drains in low spots, and connecting to the council stormwater system where required.
Step 2: Soil Remediation and Ground Preparation
New build sites rarely have soil fit for planting. During construction, topsoil is often stripped away or buried under fill, leaving compacted clay, builder's rubble and churned subsoil.
What Construction Does to Soil
Three distinct problems occur on almost every new build site:
-
Compaction, Excavators, bobcats and concrete trucks weigh several tonnes, compressing soil particles and eliminating the air pockets roots and microbes need. Push a garden fork into the ground on a compacted block and it will barely penetrate.
-
Topsoil loss and burial, Topsoil is the dark, nutrient-rich layer that supports plant life. On many new estates it is scraped off, sold, or buried under fill from the house excavation, leaving heavy clay subsoil or a mix of clay and rubble on the surface.
-
Rubble and contaminated fill, Brick offcuts, concrete chunks, nails, plastic strapping and excess mortar are commonly buried on site. This debris creates air pockets that cause uneven settling, damages root systems and makes planting difficult.
Testing Before You Treat
Before spending money on imported topsoil or compost, understand what you are working with. A basic pH test kit gives a quick reading, but a laboratory soil test is more useful, checking pH, salinity and nutrient levels. Many new estates across Western Sydney sit on alkaline clay with a pH above 7.5, which locks up nutrients.
The Remediation Process
Stage one: Deep ripping. A bobcat or excavator fitted with a ripper tine breaks up compacted layers to a depth of 400-600 mm. This is not the same as rotary hoeing the top 100 mm, deep ripping fractures the compacted pan below the surface, allowing water to drain and roots to penetrate.
Stage two: Rubble removal. As ripping exposes buried debris, rake it out and remove it. This is labour-intensive but essential, leaving bricks and concrete in the soil creates drainage problems and makes future planting difficult.
Stage three: Soil improvement. Once the ground is broken up, blend well-rotted compost or aged manure into the top 200-300 mm to improve soil structure, introduce beneficial microbes and help the soil hold moisture. A common recommendation is to spread 50-75 mm of compost across the area before cultivating it in.
Stage four: Imported topsoil where needed. If the original topsoil is gone, importing quality screened topsoil is often the most reliable path. Lawns need at least 100 mm of quality soil to establish; garden beds benefit from 200-300 mm. Skimping on this step guarantees a thin, yellow lawn and struggling shrubs within a season.
The pH Question
If a soil test shows high alkalinity, the standard amendment is elemental sulphur or a sulphur-based conditioner, which lowers pH over several months, not an instant fix. For acidic soils, lime is the usual amendment. Guessing is wasteful: a soil test can save hundreds on wasted amendments and failed plantings.
Why This Matters More on New Builds Than Established Gardens
An established garden has had years for soil biology to develop, worms, fungi and bacteria creating structure and cycling nutrients. A new build block has none of this; the soil is essentially sterile. Rebuilding that biology comes from adding organic matter, choosing plants that build root structure, and mulching, not from a single application of fertiliser.
Step 3: Structural Landscaping and Sydney Retaining Walls
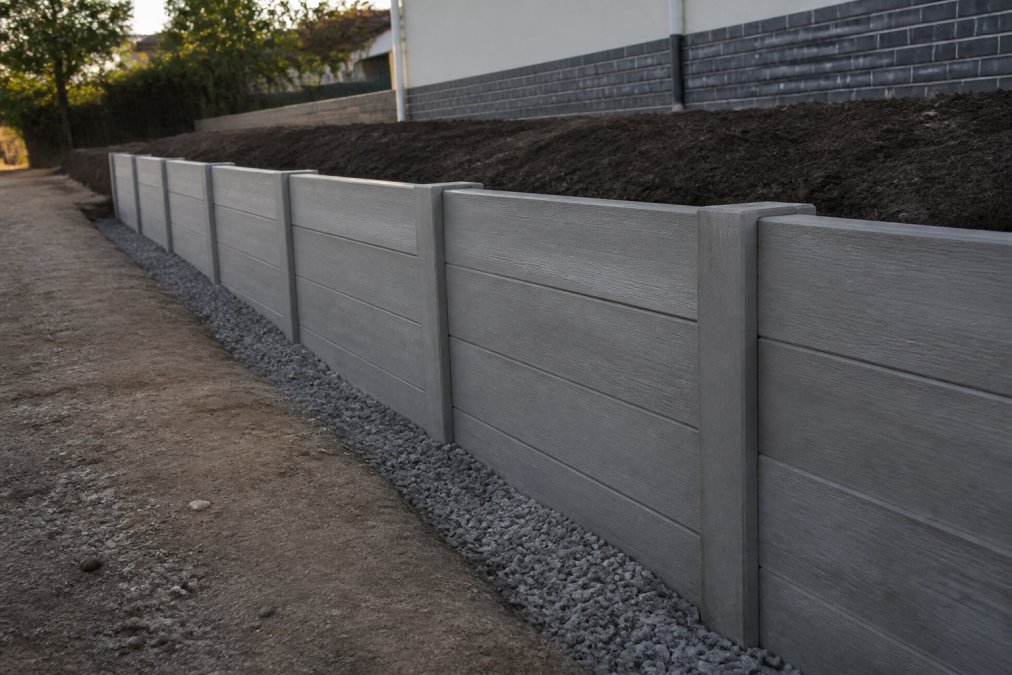
Structural landscaping is the backbone of any new build garden. On sloping blocks, common across the Hills District and North-West Sydney, retaining walls are often the first structural element required. They hold back soil to create level terraces for lawns, entertaining areas and garden beds, and manage the pressure of waterlogged soil, which is why proper drainage behind the wall is non-negotiable.
The choice of retaining wall material, concrete sleepers, sandstone blocks, timber sleepers or interlocking blocks, depends on wall height, soil type and the desired look. Anything above a certain height typically requires engineered design and council approval, so requirements depend on the site and the relevant council. A licensed installer will know when engineering certification is needed.
Step 4: Designing Outdoor Living and Alfresco Areas
With levels resolved and soil prepared, the design shifts to how the space will be used. The outdoor living space is an extension of the home, and on new builds it should be planned before the concrete slab is poured, not after.
Start with the Sun and the Breeze
Orientation is the most overlooked factor in outdoor living design. A west-facing alfresco area in the Hills District will bake in summer afternoon sun, making it unusable from mid-November to February without substantial shade.
Before finalising the main entertaining area, map the sun's path across the block. In summer the sun rises in the south-east and sets in the south-west in Sydney; in winter it tracks lower across the northern sky. A north-facing outdoor area captures winter sun and can be shaded from summer heat with the right pergola design or deciduous tree placement.
Prevailing breezes matter too. In Western Sydney, hot westerly winds in summer can make an unsheltered alfresco area unbearable. A well-placed fence, hedge or pergola can break the wind without blocking winter sun.
Connecting to the Indoor Layout
The relationship between indoor and outdoor spaces determines how often the outdoor area gets used. An alfresco that opens directly off the kitchen or family room will be used daily; one that requires walking through a hallway or around the side of the house will be used a few times a year.
On new builds, check the floor plan before the slab is poured. Where will sliding or bi-fold doors be located? What is the floor level relative to the proposed paving? A step down of 50-100 mm from the internal floor to the alfresco is common to keep water out while creating a seamless transition. Getting this level wrong at construction is expensive to fix later.
Hardscaping and Softscaping Balance
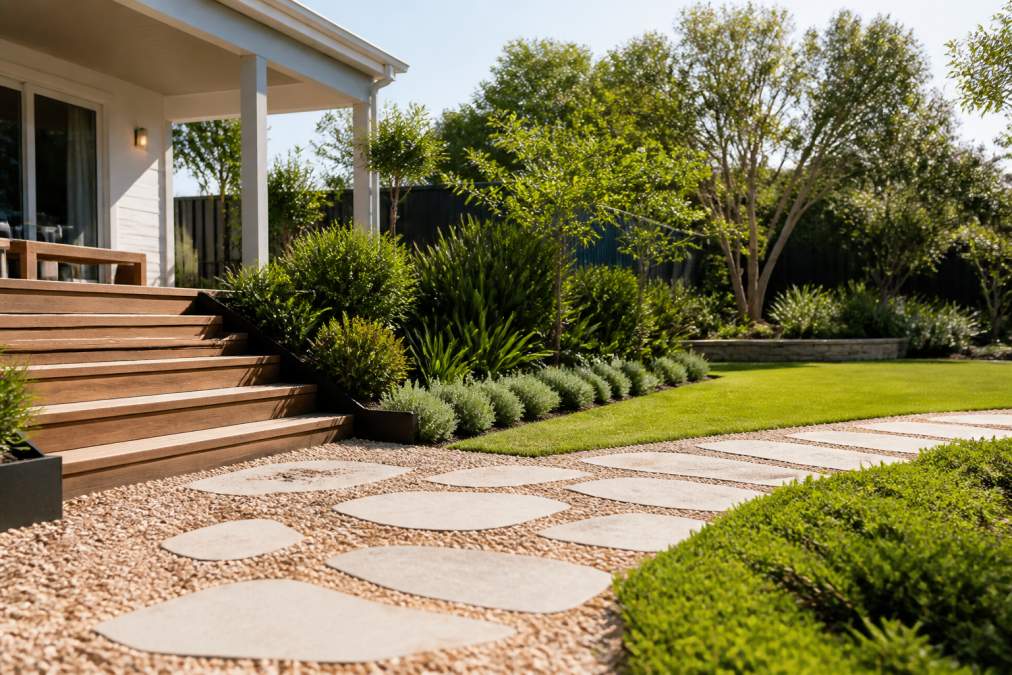
Hardscaping includes paving, decking, retaining walls, outdoor kitchens and pergolas; softscaping covers lawns, garden beds, ground cover and trees. A good rule of thumb is that hard surfaces should make up no more than a third of the garden, leaving the rest permeable so stormwater soaks into the ground rather than running off into the street.
This balance is not just aesthetic, large areas of impermeable paving create stormwater runoff problems that councils increasingly scrutinise. Permeable options, such as open-jointed pavers on a crushed rock base, allow water to infiltrate while providing a stable surface.
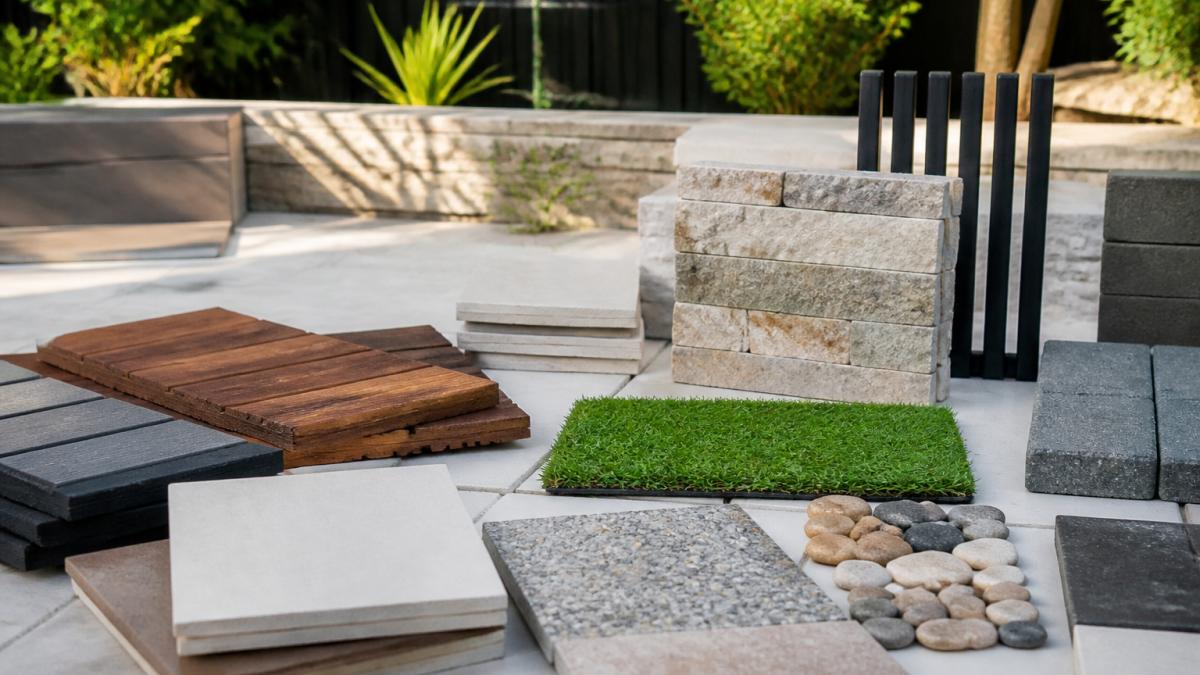
Material Selection and Performance
Paving materials are often chosen for looks alone, but performance matters more on a new build site where drainage and levels are still settling. Key trade-offs:
- Concrete pavers are durable, available in a wide range of colours and forgiving to install, they can be lifted and re-laid if a drainage issue emerges. A 50 mm paver is standard for pedestrian areas; driveways need 80 mm pavers on a proper road base.
- Natural stone (sandstone, travertine, bluestone) offers a premium look but is more expensive and can be slippery when wet, particularly with a honed finish. It also retains heat, an advantage in winter but a drawback in summer.
- Exposed aggregate concrete is a single-pour solution that is hard-wearing and slip-resistant, popular for driveways and pool surrounds. The downside is that it cannot be lifted or adjusted once set, so drainage levels must be correct before pouring.
- Timber decking (hardwood or composite) warms the space visually and is comfortable underfoot. Hardwood requires oiling every 12-18 months in harsh sun; composite costs more upfront but eliminates the maintenance cycle.
Designing for Real Use
Garden zoning separates the block into distinct areas: a private entertaining zone near the house, a recreation area for children or pets, and a service zone for bins, drying clothes and storage. This prevents the common new build problem of a lawn too small to use and paving too large to enjoy.
When planning the entertaining zone, think in dimensions. A dining setting for six needs a minimum of 3 x 3 metres of clear space; an outdoor lounge with a coffee table needs about 3 x 2.5 metres. If you plan an outdoor kitchen or barbecue, allow 1.5-2 metres of bench space plus room to stand and cook. These dimensions are routinely missed in new build designs.
Shade Structures and Climate
An uncovered alfresco in Sydney will be unusable for a significant portion of the year, too hot in summer or too exposed in winter. Shade options include:
- Pergolas with adjustable louvres, These allow you to control sun and shade throughout the day. They cost more than fixed pergolas but offer year-round flexibility.
- Fixed timber or steel pergolas, A solid roof provides rain protection but blocks winter sun unless designed with the right orientation and opening.
- Shade sails, A cost-effective option for covering large areas, but they require high anchor points and proper tensioning to handle wind.
- Deciduous trees, A well-placed tree provides summer shade and lets winter sun through. The trade-off is that it takes years to establish, so plant it early in the landscaping sequence.
Future-Proofing the Design
Finally, plan for how your outdoor needs will change. A young family might prioritise lawn for play now, but that same area may become a pool or extended entertaining space in a decade. Designing the hardscape and drainage now to accommodate future changes, such as running water and power to the alfresco even if the outdoor kitchen is not installed until later, saves significant cost down the track.
Step 5: The Landscape Construction Process Explained
The landscape construction process follows a logical sequence, with each phase building on the last. Understanding it helps homeowners know what to expect and when to make decisions.
- Site establishment and protection - Set up site access, protect existing structures and mark out service locations.
- Bulk earthworks and excavation - Cut and fill to achieve the desired site levels, remove excess material and shape the block.
- Drainage and underground services - Install stormwater lines, agricultural drains and irrigation piping before anything is covered.
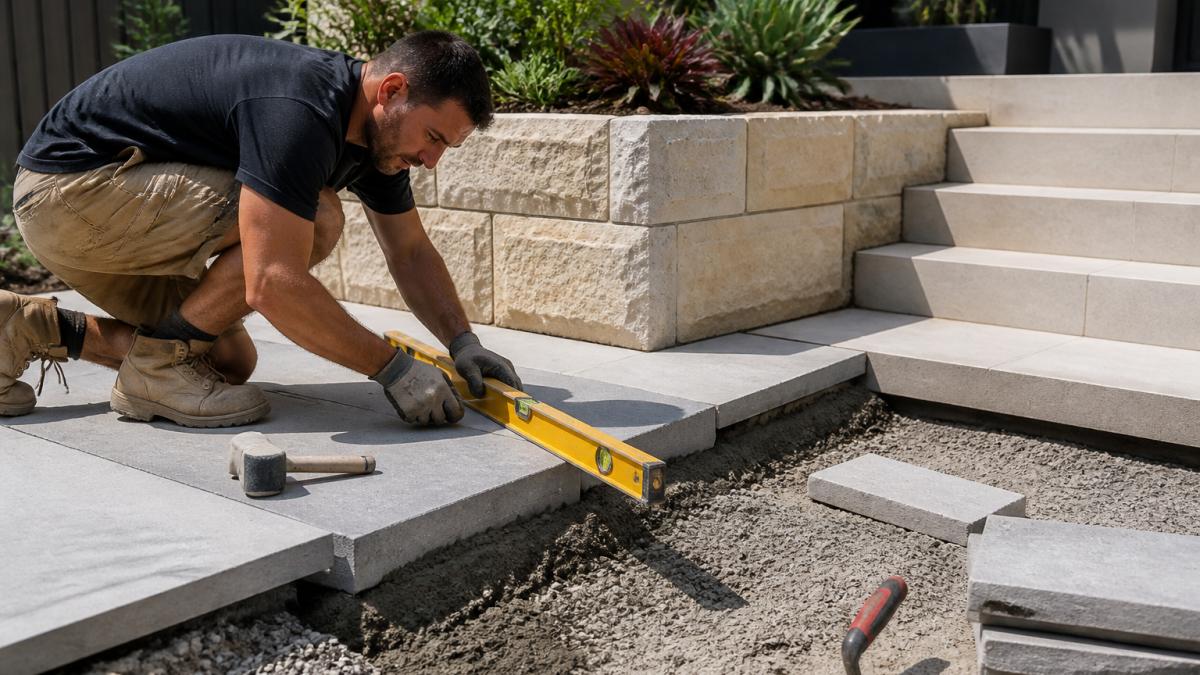
- Structural elements - Build retaining walls, then any concreting or paving that requires a stable base.
- Hardscape installation - Lay paving, build outdoor kitchens, pergolas and fencing.
- Softscape installation - Prepare the final soil profile, then install turf, plants, mulch and ground cover.
- Finishing and handover - Clean the site, fine-tune irrigation and walk the client through maintenance requirements.
Using 3D Landscape Design Services to Visualise Your Plan
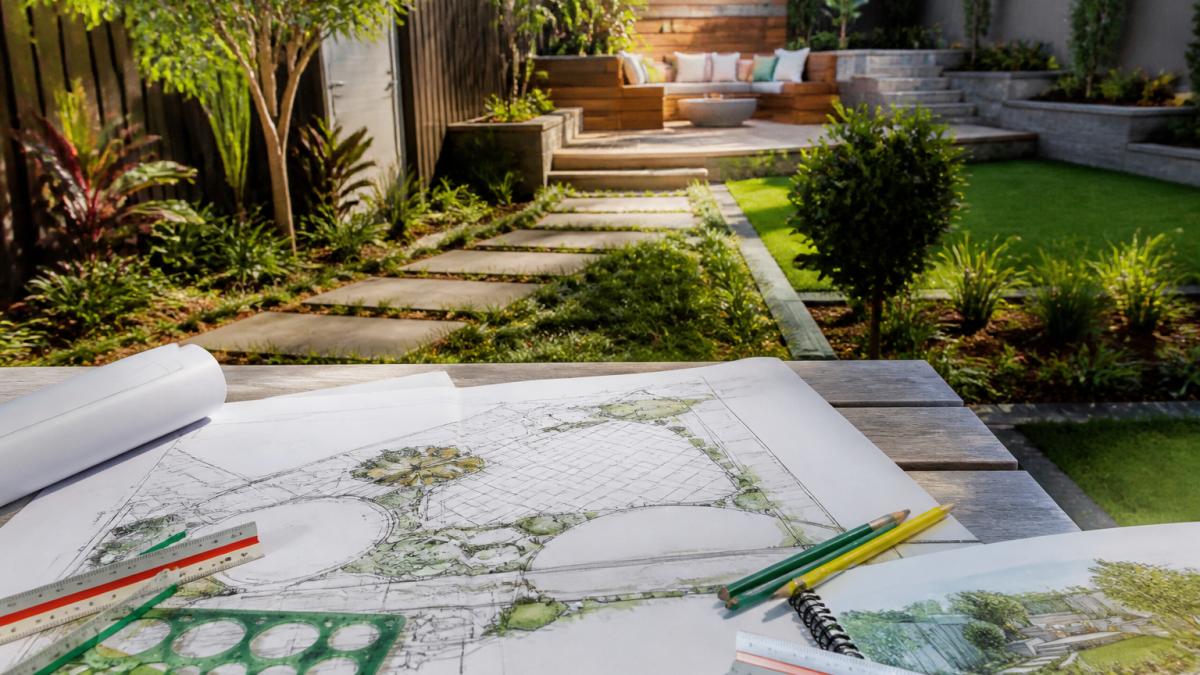
One of the most useful tools in modern landscape design is 3D modelling. A 3D landscape design service lets you see the finished garden before a single spade hits the ground, walk through the proposed space, check sight lines from the kitchen window, confirm the alfresco is large enough for your furniture and adjust plant choices until the scheme feels right.
This is far more effective than reading a 2D plan. Most homeowners struggle to picture how a 2000 mm retaining wall will feel against a two-storey house, or whether a 4 x 4 metre alfresco slab is generous or cramped. Seeing it rendered in three dimensions removes the guesswork.
The design phase is also where sustainable and water-wise choices are made. Selecting native plants suited to the local climate reduces irrigation demand, while mulch and ground cover retain soil moisture. Planning for a rainwater tank or greywater reuse at this stage is far simpler than retrofitting later.
Budgeting, Council Approvals and Phased Timelines
Budgeting for a new build landscape is where most projects get into trouble. House construction consumes the budget and landscaping is treated as an afterthought with whatever is left over. A more realistic approach is to allocate a portion of the total project budget to the outdoor space from the start.
Council approvals and engineering requirements vary by location and site specifics. Retaining walls above a certain height, structures like pergolas and changes to stormwater connections may all require approval. Requirements depend on the site and the relevant council, so check early. A professional design and construction team will manage this process, but approval timeframes can affect the schedule.
| Project Phase | Typical Considerations | Planning Tip |
|---|---|---|
| Site assessment | Levels, drainage, services, access | Survey before buying materials |
| Soil remediation | Compaction, rubble, topsoil depth | Budget for imported topsoil |
| Structural works | Retaining walls, drainage, engineering | Check council approval requirements |
| Hardscape | Paving, concreting, outdoor kitchens | Confirm material lead times |
| Softscape | Turf, plants, irrigation, mulch | Plant in the right season |
Phased timelines are a practical solution when the full budget is not available at once. Complete structural work and drainage first, since these are difficult and costly to retrofit. Stage one might deliver retaining walls, drainage and a basic lawn; stage two adds alfresco paving and an outdoor kitchen; stage three introduces garden beds, mature plantings and feature lighting. Each stage should stand alone without looking unfinished.
Planning a landscape for a new build property involves coordinating site levels, soil condition, drainage and structural elements in a specific sequence. FDSS Landscaping Services provides end-to-end landscape design and construction across the Hills District and North-West Sydney, from concept and 3D design through to completion. Our integrated design-and-build approach means one experienced team handles the planning, construction and delivery of your outdoor space. Get started with FDSS Landscaping Services and request a landscaping quote for your new build project.
Frequently Asked Questions
What should be included in a new build landscaping plan?
A new build landscaping plan should start with drainage and site levels before any aesthetic choices. Include soil remediation to address compaction from construction machinery, structural elements such as retaining walls where the block slopes, and a balance of hardscaping and softscaping. Plan your outdoor living space, turf installation areas and plant selection with a maintenance schedule in mind. Working through the landscape construction process in phases helps manage budget and ensures the site is ready for each stage.
How do I manage drainage and soil quality for a new build property?
New build sites often have compacted, poor-quality topsoil stripped during construction. Test drainage after building finishes by digging a small hole and filling it with water. If water sits for hours, you need drainage solutions for residential landscaping such as subsoil drains or agricultural pipe. Bring in quality topsoil before turf installation and consider raised garden beds where soil depth is shallow. Plan for stormwater management early, as fixing drainage after paving is expensive.
Do I need council approval for landscaping my new home?
Approval requirements depend on your site, your council and the scope of work. Retaining walls over a certain height, structures like pergolas, and significant excavation typically need a development application or complying development certificate. Underground drainage that connects to council systems also requires approval. Check with your local council in the Hills District or Greater Sydney before starting. A professional landscaping company can guide you on what is required for your specific property.
What are the benefits of 3D landscape design for new builds?
3D landscape design services let you see your finished outdoor space before construction starts. You can view the house and garden together, check sight lines from windows, and adjust plant sizes, paving patterns and outdoor living layouts while changes are still cheap. This reduces costly surprises during the landscape construction process and helps you communicate your preferences clearly. It is especially useful for new builds where the surrounding area is bare earth and hard to picture finished.
How long does the landscaping process take for a new property?
A full landscape construction process for a new build typically takes several weeks, depending on the size and complexity of the project. Site preparation, drainage installation and structural work such as retaining walls come first, followed by hardscaping and finally softscaping like turf and planting. Phasing the work is common: complete structural elements and drainage early, then finish planting when the budget allows. Ask your landscaping provider for a timeline based on your specific design.
Why is structural landscaping important for new build sites?
New build sites are often left with compacted soil and poor drainage after construction. Structural landscaping covers the essential elements that support everything else: retaining walls to manage slopes, drainage systems to move water away from the house, and site grading to create usable flat areas. Getting these right prevents costly problems like water pooling, foundation moisture and soil movement. Structural work should always come before paving, turf or planting.