 ultimate-guide
3D Landscape Design Process Explained
Table of Contents
- Understanding 3D Landscape Design
- The Landscape Design Consultation Process
- Concept Design and 3D Rendering Development
- Benefits of 3D Landscape Rendering
- Construction Documentation and Technical Drawings
- Landscape Construction Timeline and Project Delivery
- From Design Approval to Site Handover
- Frequently Asked Questions
Last Updated: August 29, 2026
Understanding 3D Landscape Design
The 3D landscape design process represents a fundamental shift in how outdoor spaces are planned and visualised before construction begins. Rather than interpreting 2D drawings or imagining a finished landscape from sketches alone, clients and builders now work with interactive three-dimensional models that show exactly what the completed garden, patio, retaining wall or hardscape will look like.
This shift matters because it eliminates guesswork. A homeowner in Castle Hill or Rouse Hill can see whether their new pergola will cast the right amount of shade, whether the paving layout suits the slope, or whether the planting palette balances the hardscape elements, all before the first shovel touches the ground. For builders and developers across the Hills District and North-West Sydney, 3D rendering accelerates client sign-off and reduces costly design revisions during construction.
At FDSS Landscaping Services, we use 3D modelling as the bridge between concept and reality. It's not just a visual tool, it's a communication device that prevents misalignment between what the designer envisions and what the client expects to receive. The process begins long before rendering software opens, with careful site analysis and consultation.
The Landscape Design Consultation Process
The foundation of any successful 3D landscape design process starts with understanding the site and the client's vision. This phase determines everything that follows, from the design intent through to construction documentation.
Initial Site Analysis and Measurement
Before any design work begins, a thorough site survey captures the physical reality of the property. This includes topography, existing vegetation, soil conditions, drainage patterns, aspect and shading, utility locations, and any site constraints such as slope or council setback requirements.
Modern landscape architects use laser measurement tools and, increasingly, drone photography to create accurate site data. The survey becomes the foundation layer in the digital model, every design decision sits on top of verified measurements. Without accurate site data, even the best 3D rendering will mislead the client because the finished landscape won't match what was shown.
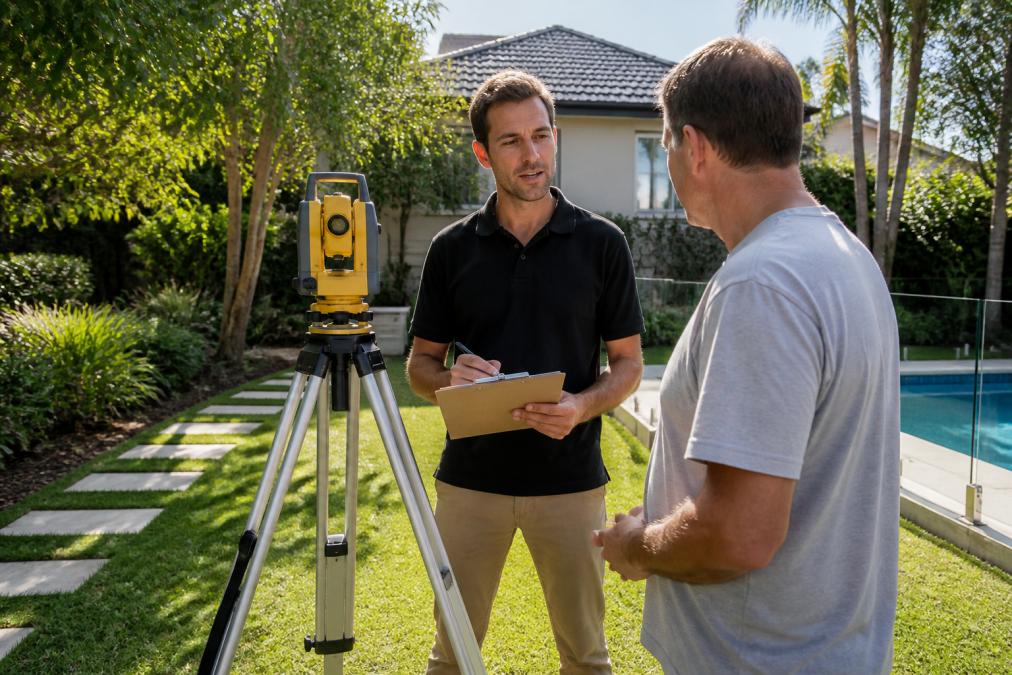
Drainage is a critical element that emerges during site analysis. Most suburban properties across Greater Sydney require careful drainage planning, especially where retaining walls or paving will alter water flow. The site survey identifies low points, slope direction, and existing drainage infrastructure so the designer can plan surface and subsurface drainage into the concept.
Understanding Your Vision and Requirements
The consultation process is a two-way conversation. The designer gathers information about how the client intends to use the space, aesthetic preferences, budget parameters, and any specific features they want included, whether that's a vegetable garden, outdoor kitchen, seating area, or water feature.
This is also when practical constraints emerge. Does the client want low-maintenance planting or are they willing to maintain a more complex garden? Are there children or pets that affect design choices? Do they prefer native plants or are they open to a mixed palette? What's the timeline for construction?
These conversations directly inform the concept design phase. A family with young children might prioritise open lawn and safety, while a retired couple might want intimate seating areas and year-round interest in the planting. The site analysis and client consultation together define the design brief, the document that guides all subsequent design work.
Concept Design and 3D Rendering Development
Once the site analysis is complete and the design brief is clear, the designer moves into concept development. This phase translates the client's vision and site constraints into a spatial plan.
From Sketch to Digital Model
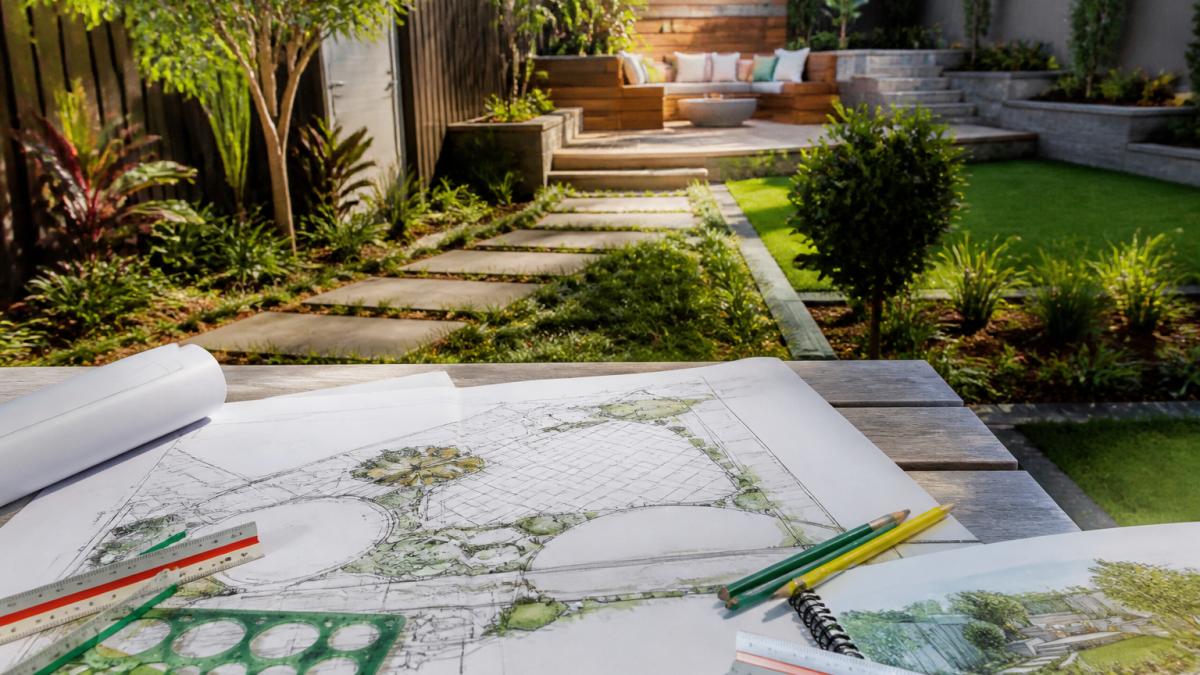
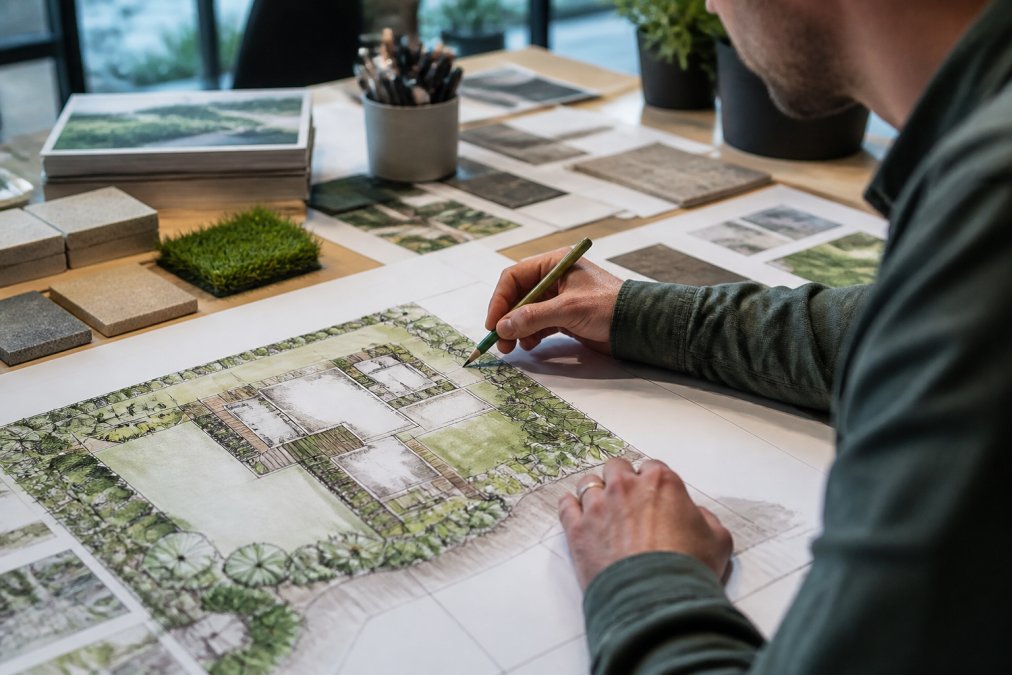
Concept design typically begins with hand sketches or simple 2D plans. These explore layout options, test different spatial arrangements, and establish the overall design intent. A designer might sketch three different approaches to a patio layout, test how a pergola or shade structure relates to existing trees, or explore planting zones.
Once the concept direction is approved, the design moves into the digital environment. The site survey data becomes the base layer, the accurate topography and existing features. The designer then builds the 3D model by placing hardscape elements (paving, walls, steps, structures), softscape features (planting beds, lawn areas, water features), and any built elements like pergolas, outdoor kitchens or decking.
The 3D model is constructed in layers. Hardscape typically goes down first because it defines the spatial structure. Planting comes next, with individual trees and shrubs placed to show scale, proportion and seasonal character. Lighting, water features, and furniture are added to give the client a complete picture of the finished space.
Visualising Hardscape and Softscape Elements
This is where 3D rendering transforms the design process. Hardscape elements, paving, retaining walls, concrete, gravel, decking, are rendered with realistic materials so the client can see the actual finish. A paving layout that looks geometric on a 2D plan suddenly shows how it relates to the house, the view, and the slope.
Softscape, trees, shrubs, groundcovers, lawn, is rendered at mature size so clients understand the final scale and proportion. A young tree that's 2 metres tall in the nursery might grow to 8 metres, and the 3D model shows this mature form. This prevents the common problem where clients plant trees too close together or in positions that later seem wrong once the plants grow.
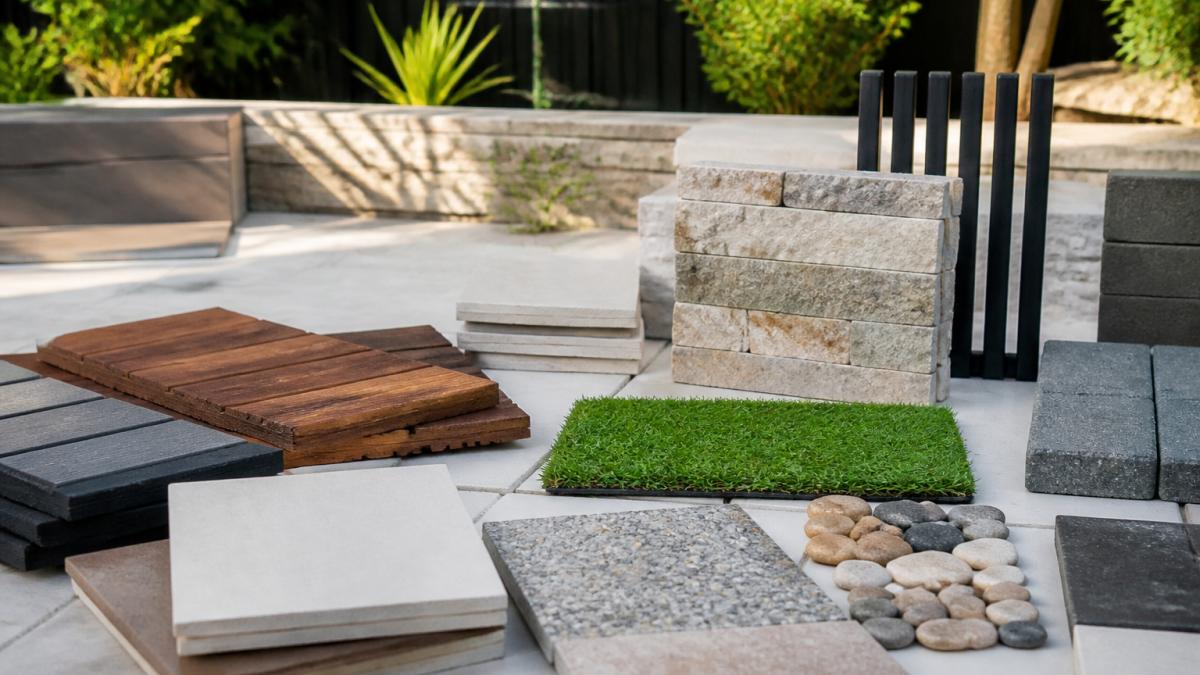
Material specifications become visible in the 3D render. A client can see the difference between a warm sandstone paving and a cool grey granite, or between a rendered retaining wall and a timber-clad one. These visual differences matter enormously to the final aesthetic, and 3D rendering lets the client make informed choices before construction.
Benefits of 3D Landscape Rendering
The shift from 2D plans to 3D models has measurable benefits throughout the design and construction process.
Client communication improves dramatically. A 2D plan requires spatial imagination, the client must mentally translate lines and labels into a three-dimensional space. A 3D render eliminates this translation step. The client sees the actual design, understands the proportions, and can spot issues or opportunities before construction begins.
Design decisions become faster and more confident. When clients can see the design in 3D, they approve more readily or request specific changes rather than vague concerns. This accelerates the approval process and reduces the number of revision rounds needed.
Budget alignment happens earlier. A 3D render makes it obvious when a design is oversized for the budget or when certain elements need to be scaled back. Clients can see where money is going, whether into premium paving, extensive planting, or structural elements like retaining walls, and make informed trade-offs.
Construction coordination improves. When builders and tradespeople see a 3D render alongside construction documentation, they understand the design intent more clearly. This reduces on-site confusion and requests for interpretation.
Spatial planning becomes more accurate. Issues like sight lines, privacy screening, shade patterns, and pedestrian flow are obvious in 3D but hidden in 2D. Designers catch problems during design rather than during construction.
Construction Documentation and Technical Drawings
Once the design is approved in 3D, it must be translated into construction documentation, the technical drawings, specifications, and schedules that guide the actual build.
Material Specifications and Planting Palettes
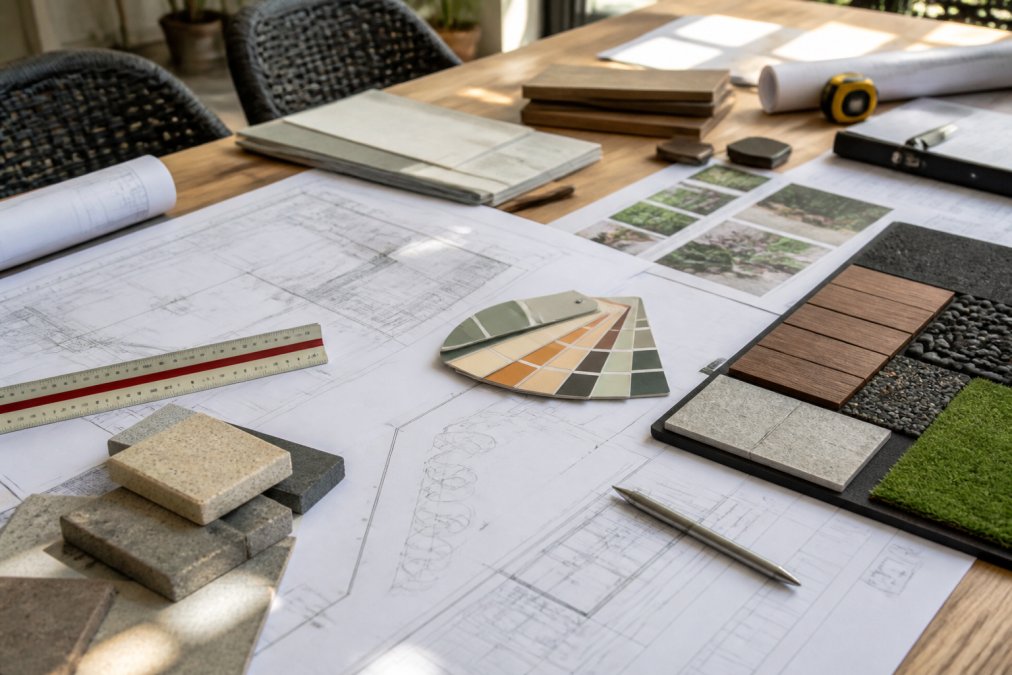
Construction documentation includes detailed specifications for every material used. For paving, this means the exact product name, finish, size, and laying pattern. For retaining walls, it specifies the material (rendered brick, timber, stone, concrete), height, reinforcement requirements, and drainage details. For planting, it lists each species, quantity, size at planting, spacing, and any special requirements.
These specifications come directly from the 3D design. The designer has already selected the materials and shown them in the render, so the specification document simply formalises those choices. A client who approved warm sandstone in the 3D render will receive warm sandstone on site, not a substitution.
Planting palettes are detailed schedules that list every plant, its botanical name, common name, quantity, size at planting, and spacing. This prevents the common problem where a contractor sources "similar" plants that don't match the design intent. The schedule also guides the nursery selection and planting logistics.
Drainage Plans and Site Constraints
Construction documentation includes drainage plans that show how water moves across the site. This is critical in suburban Sydney where many properties have slopes, clay soils, or high water tables. A drainage plan shows surface water direction, location of any underground drainage pipes, sump pits, or permeable paving areas.
Site constraints are documented explicitly. If a local council has setback requirements, they appear on the drawings. If there are utility easements, they're marked. If the site has heritage significance or environmental constraints, these are noted and addressed in the design.
The 3D design process makes it easier to identify and resolve constraints before construction. A designer working in 3D can test whether a proposed structure meets setback requirements or fits within the available space. These issues are solved in the digital model, not discovered on site.
Landscape Construction Timeline and Project Delivery
The transition from design to construction follows a clear sequence, though timing varies depending on project complexity and seasonal factors.
Design phase typically takes 4-8 weeks from initial consultation to final approved drawings, depending on project size and revision rounds. Simpler projects might move faster; complex sites with multiple stakeholders take longer.
Approvals and permits vary by council and project type. A retaining wall over 1 metre high might require engineering certification and council approval. A patio or garden renovation might not. This phase can add 2-6 weeks depending on what's required.
Construction phase ranges from 2-3 weeks for a small patio to several months for a major renovation involving excavation, retaining walls, and extensive hardscaping. The site conditions, weather, and complexity of drainage or structural elements all affect timeline.
Planting and establishment happens at the end of construction. Turf installation is quick, a day or two for most residential properties. Tree and shrub planting takes longer if the site requires soil preparation or if plants need staking and protection. Establishment care, watering, mulching, monitoring, continues for several months after planting.
The 3D design process doesn't shorten these phases, but it does reduce delays caused by design misunderstandings or change orders. A well-documented design with clear specifications moves through construction more smoothly.
From Design Approval to Site Handover
Once construction is complete, the site handover phase begins. This is where the 3D design becomes reality on the ground.
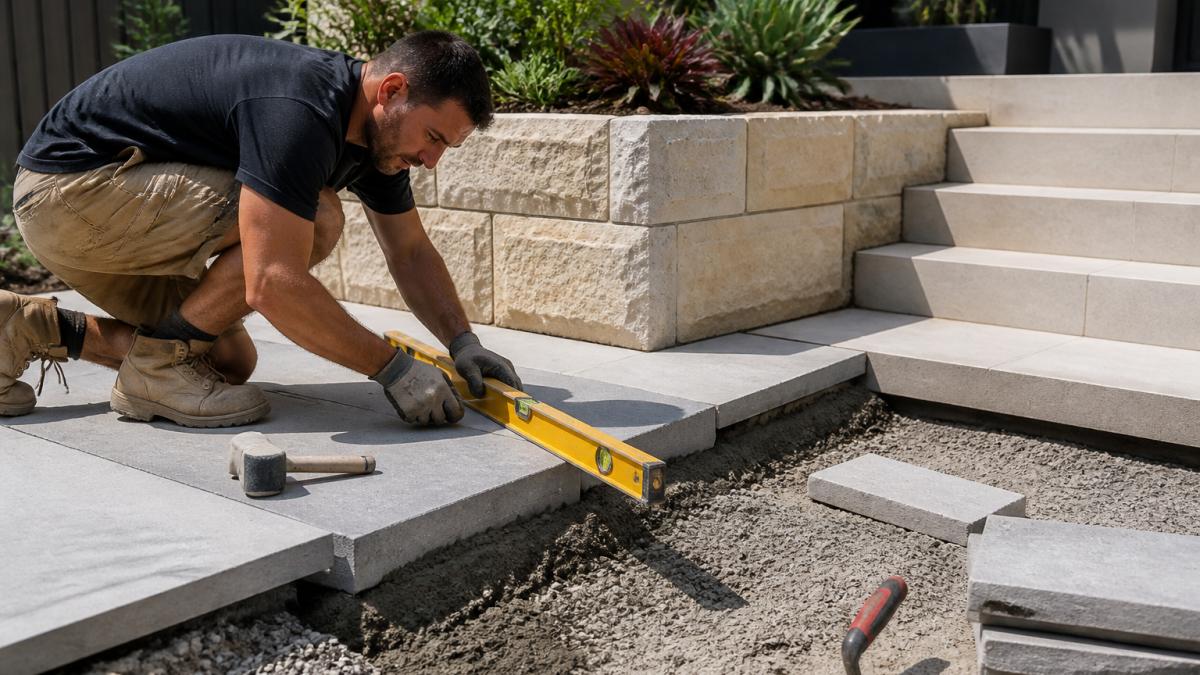
The contractor walks the site with the client and designer to confirm that the finished landscape matches the approved design. Paving layout, planting placement, hardscape finishes, and all structural elements are checked against the design. Any minor variations are documented. Major deviations, a plant in the wrong location, paving laid at the wrong angle, are corrected before final handover.
Planting care instructions are provided. New trees and shrubs require specific watering and mulching during the establishment period. The client receives guidance on seasonal maintenance, pruning requirements, and any special care needed for particular plants.
For projects involving retaining walls, drainage systems, or other structural elements, the designer or builder explains how to maintain these features. A retaining wall might need periodic inspection for drainage function. A paved area might need weeding or occasional pressure cleaning. Understanding these requirements helps the client maintain their investment.
The 3D design serves as a reference throughout this process. If questions arise about the intended design, whether a plant was meant to be in a particular location, or whether the paving layout is correct, the 3D model and construction drawings provide the answer.
The 3D landscape design process transforms how outdoor spaces are planned, visualised, and built. By combining accurate site analysis, detailed client consultation, and three-dimensional modelling, designers create spaces that meet client expectations and solve real site challenges. For homeowners, builders, and property owners across the Hills District, Baulkham Hills, Norwest, Rouse Hill and surrounding areas considering a landscape project, this process ensures that the finished result matches the vision, not just in photographs, but in reality.
FDSS Landscaping Services uses this integrated approach across all our landscape design and construction projects. We combine thorough site analysis, detailed 3D rendering, and comprehensive construction documentation to deliver landscapes that work beautifully and last. Whether you're planning a retaining wall, paving renovation, garden construction, or complete outdoor living transformation, we guide you through each phase of the design process so you understand exactly what you're getting before construction begins.
Ready to see your landscape vision in 3D? Request a landscaping quote from FDSS Landscaping Services and let's explore what's possible for your property.
Frequently Asked Questions
What is a 3D landscape design process and why is it different from traditional 2D plans?
A 3D landscape design process creates interactive digital models of your outdoor space, allowing you to see how hardscape features, planting palettes and spatial planning work together before construction begins. Unlike 2D plans, 3D rendering provides visual communication that helps clients and builders understand the design intent clearly. This reduces costly changes during construction and improves project feasibility.
How long does the 3D landscape design process take from consultation to final approval?
The landscape construction timeline varies depending on project scope and complexity. Initial site analysis and consultation, concept design development, and refinements based on client feedback all contribute to the overall timeframe. Construction documentation follows once the design is approved. A professional landscape designer can provide a realistic timeline during your initial consultation.
What are the main benefits of using 3D landscape rendering for my garden renovation?
Benefits of 3D landscape rendering include clear visualisation of scale and proportion, better communication between you and your builder, and the ability to explore design options before construction. 3D models also help identify site constraints early and support council approval requirements by showing exactly what will be built. This reduces surprises and ensures your outdoor living area meets your expectations.
Do I need a 3D design for a small landscaping project like paving or turf installation?
Even smaller projects benefit from professional design. A landscape design consultation ensures proper drainage planning, material selection suited to your site conditions, and spatial planning that maximises usability. For projects involving retaining walls, concreting or complex hardscape builds, technical drawings and site analysis are essential. A qualified landscape designer can advise whether 3D rendering is necessary for your specific scope.